Introduction
Have you ever followed a crochet pattern to the letter—only to end up with a scarf the size of a doormat or a hat that fits your knee? You’re not alone. One of the most common (and fixable!) beginner mistakes isn’t your stitch technique—it’s using the wrong hook size.
The humble crochet hook may seem like a simple tool, but its size dramatically affects your tension, fabric density, drape, and final measurements. Get it right, and your project turns out just as the designer envisioned. Get it wrong, and you might as well be knitting with spaghetti.
In this beginner-friendly guide, we’ll demystify crochet hook sizes—what the numbers mean, how they relate to yarn weight, why gauge matters, and how to choose the perfect hook for any project. Whether you’re making a cozy blanket, a delicate doily, or your first pair of socks, understanding hook selection will boost your confidence and improve your results from day one.
Let’s unravel the mystery together—and turn your next project into your best one yet.
Understanding Crochet Hook Sizes: Letters, Numbers, and Millimeters
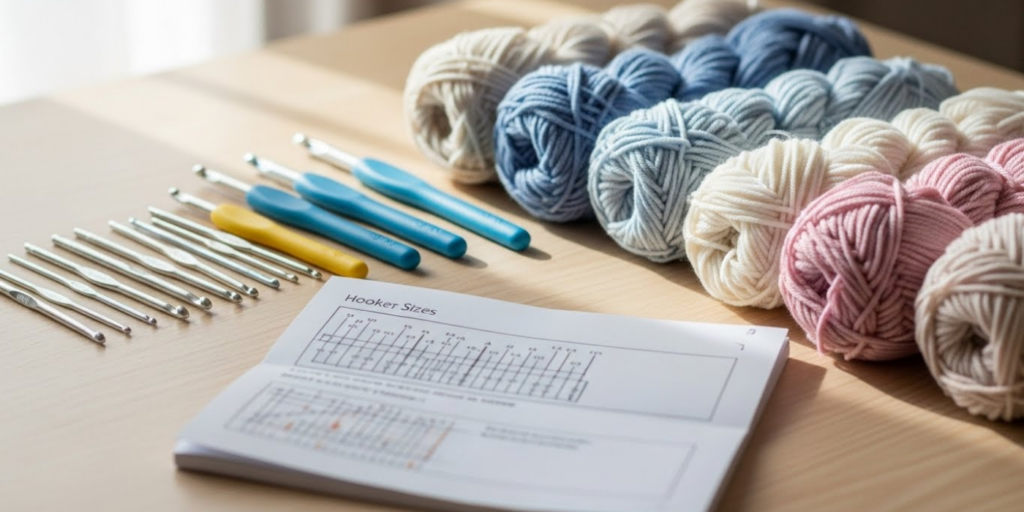
If you’ve ever picked up a crochet hook and felt confused by labels like “H-8,” “5.0 mm,” or “Size 6,” you’re not imagining things—it’s a real mess! That’s because crochet hooks use three different sizing systems, often all on the same tool:
- Metric (millimeters): The most universal and precise. This number tells you the actual diameter of the hook shaft (e.g., 3.5 mm, 5.5 mm).
- US Letter/Number System: Uses letters like B, C, D… up to P, and sometimes numbers (e.g., H-8). These don’t follow a linear scale and can be inconsistent between brands.
- Old UK/Canadian System: Rarely used today, but you might see it in vintage patterns.
Good news: Most modern patterns—especially from the U.S.—list the metric size first, followed by the US letter. For example: “Use a 5.0 mm (H-8) hook.” Always prioritize the metric size for accuracy.
Why does this matter? Because a 0.5 mm difference can change your entire project. A 4.0 mm hook creates tighter stitches than a 4.5 mm—even with the same yarn and pattern. That tiny gap can mean the difference between a snug beanie and one that slides over your shoulders.
Pro tip: Keep a printed hook size conversion chart in your yarn bag or bookmark a digital one (like the one from Yarnspirations or the Craft Yarn Council). It’ll save you guesswork and frustration.
Think of your hook like a paintbrush: a fine tip for detail work, a wide one for bold strokes. The right size matches your yarn—and your vision.
Matching Hook Size to Yarn Weight: The Golden Rule
The number one factor in choosing a hook isn’t the pattern alone—it’s the yarn you’re using. Every yarn comes with a recommended hook size printed right on the label, usually inside a small crochet hook symbol.
This recommendation is based on yarn weight, which ranges from lace-thin (Size 0) to super bulky (Size 6). Here’s a quick reference:
| Yarn Weight | Typical Hook Size (mm) | Common Uses |
|---|---|---|
| Lace (0) | 1.5 – 2.25 mm | Doilies, shawls, delicate items |
| Fingering (1) | 2.25 – 3.5 mm | Socks, baby clothes |
| Sport (2) | 3.5 – 4.5 mm | Lightweight garments |
| DK (3) | 4.5 – 5.5 mm | Sweaters, hats, blankets |
| Worsted (4) | 5.5 – 6.5 mm | Most beginner projects |
| Bulky (5) | 6.5 – 9.0 mm | Quick blankets, scarves |
| Super Bulky (6) | 9.0 mm and up | Arm knitting, chunky pillows |
Real-life example: Maya wanted to make a lacy market bag using worsted-weight yarn and a size K (6.5 mm) hook. The result? A floppy, hole-ridden mess that couldn’t hold an apple. Switching to a smaller 4.0 mm hook with the same yarn gave her crisp, sturdy stitches—perfect for carrying groceries.
Key takeaway: Always check your yarn label first. If you’re substituting yarns, match the weight—and adjust your hook accordingly.
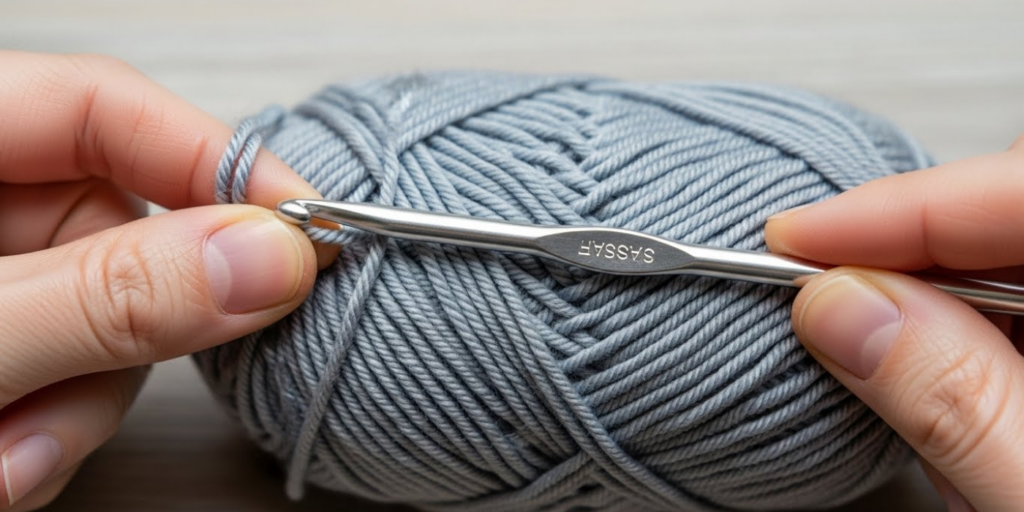
The Secret Weapon: Swatching for Gauge
Even with the “right” hook and yarn, your tension might not match the pattern designer’s. That’s where gauge comes in—and why every serious crocheter swatches.
Gauge is the number of stitches and rows per inch (or 4 inches) in a specific stitch (usually single or double crochet). If your gauge is off, your finished item will be too big or too small—no matter how carefully you count rows.
Here’s how to swatch like a pro:
- Use the hook size suggested in the pattern.
- Crochet a 4” x 4” square in the main stitch.
- Lay it flat (don’t stretch!) and measure with a ruler.
- Compare your stitches per inch to the pattern’s gauge.
If you have too many stitches: Your tension is tight—go up a hook size.
If you have too few stitches: Your tension is loose—go down a hook size.
Why this matters: Imagine knitting a sweater for a 40” chest. If your gauge is just 1/4” off per 4”, the whole garment could end up 3–4 inches too big or small. That’s not a minor tweak—it’s unwearable.
Bonus tip: Wash and block your swatch if the finished item will be washed. Some yarns (like cotton or wool) relax or shrink, changing your gauge after care.
Swatching might feel like “extra work,” but it’s actually the fastest way to avoid frogging (ripping out) an entire project later. Think of it as a test drive before the road trip.
Hook Material and Ergonomics: Comfort Affects Consistency
Hook size isn’t just about millimeters—it’s also about how the tool feels in your hand, especially during long sessions.
Different materials offer unique benefits:
- Aluminum: Smooth, lightweight, and affordable. Great for slippery yarns like silk or bamboo. Popular brands: Boye, Susan Bates.
- Bamboo/Wood: Warm to the touch, with gentle grip. Ideal for cotton or wool that might slide off metal. Reduces hand fatigue.
- Plastic: Budget-friendly and quiet, but can bend with thick yarns.
- Ergonomic hooks: Feature soft, contoured handles (like Clover Amour or Tulip Etimo). Perfect if you have arthritis, carpal tunnel, or crochet for hours.
Personal story: Lena, a retired teacher, gave up crocheting for years because her hands ached. She switched to ergonomic hooks with cushioned grips—and finished three baby blankets in two months. The right tool rekindled her joy.
Pro advice: Try a few types! Many craft stores sell inexpensive hook sets that let you test different sizes and materials. Your comfort directly impacts your tension—so don’t ignore ergonomics.
Also, consider hook head shape. Some have pointed tips for tight stitches (great for amigurumi), others have rounded heads for gentle splitting (ideal for beginners).
Troubleshooting Common Hook-Size Mistakes

Even experienced crocheters make hook-related blunders. Here are four frequent pitfalls—and how to avoid them:
1. Assuming “one hook fits all”
You wouldn’t use the same paintbrush for fine lines and broad strokes. Similarly, always match your hook to the project. A 9 mm hook is perfect for a chunky throw—but disastrous for lace edging.
2. Ignoring pattern updates
Older patterns sometimes use outdated sizing. Double-check conversion charts, and when in doubt, swatch.
3. Using a bent or worn hook
Hooks can warp over time, especially plastic ones. A slightly bent shaft creates uneven stitches. Replace damaged tools—it’s worth the $3.
4. Skipping gauge for “non-fitted” items
Even blankets and scarves benefit from correct gauge. Wrong tension can waste yarn, alter drape, or make edges curl. Don’t skip the swatch—even for “easy” projects.
Quick fix: Keep a hook organizer with labeled slots. It prevents mix-ups and saves time rummaging through your notions box.
Remember: the right hook isn’t about perfection—it’s about intention. Every choice you make shapes the fabric you create.
Final Thoughts: Your Hook, Your Signature
Your crochet hook is more than a tool—it’s an extension of your hands and creativity. The size you choose influences everything from stitch definition to fabric warmth, from speed to comfort. Mastering hook selection gives you control over your craft, empowering you to adapt, troubleshoot, and innovate.
Whether you’re following a pattern or designing your own, let yarn be your guide, swatches be your compass, and comfort be your priority. With practice, you’ll develop an intuitive sense of what “feels right”—and your projects will reflect that confidence.
Conclusion
Choosing the right crochet hook size might seem overwhelming at first, but it’s one of the most powerful skills you can master as a beginner. We’ve covered how to decode hook labels, match sizes to yarn weights, use swatching to nail gauge, select comfortable materials, and avoid common errors. Each of these steps brings you closer to professional-looking results and the joy of stress-free crafting.
Don’t be afraid to experiment. Try a smaller hook for tighter amigurumi, or go larger for a drapey shawl. Your hook is your creative partner—listen to what your stitches are telling you.
Now it’s your turn!
What’s the biggest hook-size lesson you’ve learned the hard way? Or which project are you planning to swatch for this week? Share your story or questions in the comments below. If this guide helped you avoid a yarn disaster, share it with a fellow crocheter who’s still guessing their way through patterns. Happy hooking—and may all your stitches be even, your tension consistent, and your projects full of joy!

Sophia Williams is a crochet enthusiast who found in yarn and hooks a creative way to express calm, patience, and love for handmade art. Focused on the crochet niche, she shares her experience, techniques, and inspiration with those who want to learn, relax, and create meaningful pieces stitch by stitch.