Introduction
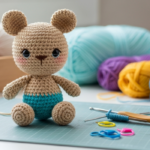
Imagine turning yarn and a simple hook into a vibrant portrait, a geometric wall hanging, or even a pixel-perfect rendition of your favorite video game character—all through crochet. That’s the magic of tapestry crochet. Unlike traditional crochet, which often focuses on texture and drape, tapestry crochet is a colorwork technique that lets you “paint” with yarn, creating intricate, detailed designs that rival embroidery or cross-stitch.
While it may look complex, tapestry crochet is surprisingly accessible once you understand the core principles. And with the rise of digital pattern generators and social media inspiration (think #crochetart on Instagram), more crafters than ever are picking up their hooks to create wearable art, home décor, and meaningful gifts.
In this guide, we’ll walk you through essential tapestry crochet tips to help you create crisp, clean, and stunningly detailed artwork—even if you’ve never worked with multiple colors before. You’ll learn how to manage yarn tension, avoid common pitfalls, choose the right materials, and read charts like a pro. Whether you’re making a cozy mug rug or a full-sized wall tapestry, these strategies will elevate your work from “nice try” to “wow, you made that?!”
Let’s unlock the artist in your stitches.
What Is Tapestry Crochet—and Why It’s Perfect for Art
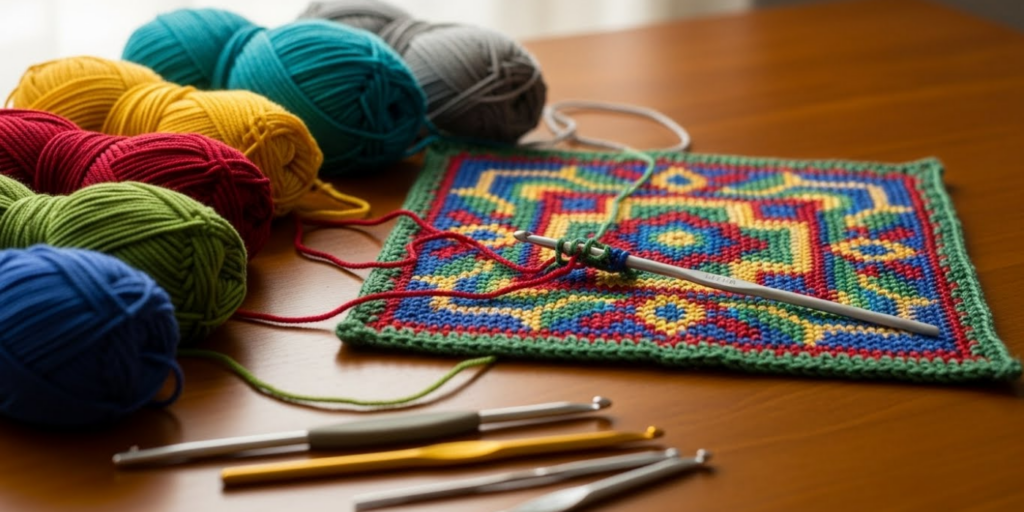
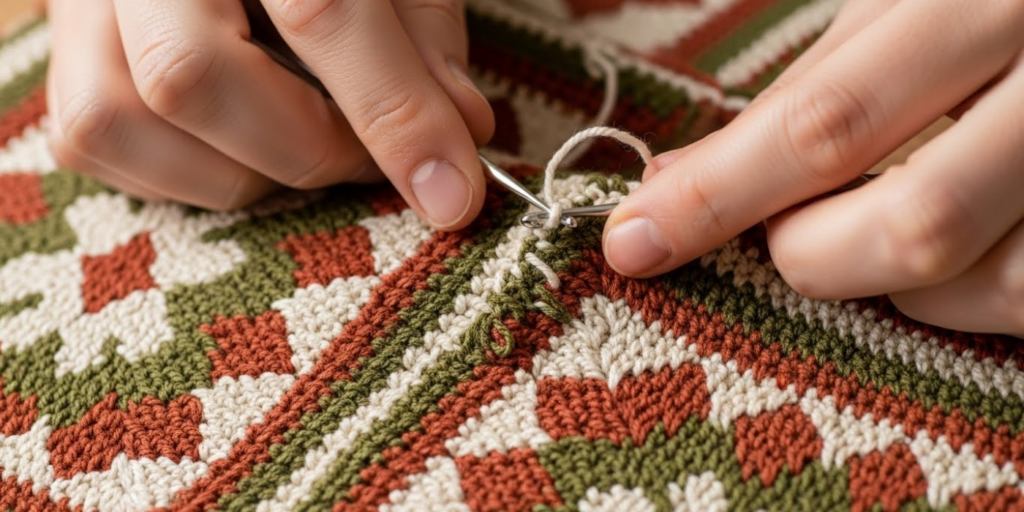
Tapestry crochet is a single-crochet-based colorwork technique where you carry unused yarn colors inside your stitches while working with the active color on the surface. This creates a solid, double-thick fabric with no gaps between color changes—ideal for sharp lines, fine details, and bold graphics.
Unlike intarsia (which uses separate yarn bobbins) or fair isle knitting (which floats yarn across the back), tapestry crochet encases the non-working yarns within each stitch, making the fabric sturdy, reversible (in some cases), and perfect for items that need structure—like baskets, bags, or coasters.
Because it’s worked primarily in single crochet (or half-double crochet for a slightly looser look) and typically in the round or in rows with frequent color changes, tapestry crochet gives you pixel-by-pixel control over your design—much like working with a grid on graph paper.
Why it’s great for detailed artwork:
- Colors stay crisp with no bleeding or blending
- You can follow pixel-style charts (similar to cross-stitch patterns)
- Mistakes are easy to spot and fix early
- The tight fabric hides carried yarns beautifully
As fiber artist and author Lena Rodriguez puts it: “Tapestry crochet turns your hook into a pencil and your yarn into ink. Every stitch is a deliberate brushstroke.”
Choosing the Right Yarn and Hook for Crisp Detail
Not all yarns are created equal when it comes to tapestry crochet. For detailed artwork, stitch definition is everything—and that starts with your materials.
Best yarn types:
- 100% cotton (like WeCrochet’s Palette or DMC Natura Just Cotton) is ideal. It’s smooth, non-stretchy, and holds its shape well, ensuring your pixels stay square and clean.
- Light to medium weight (#3 or #4) yarn offers the best balance between manageability and detail resolution. Sport or DK weight (#3) is excellent for fine work; worsted (#4) works well for larger projects like bags or wall hangings.
- Matte or semi-matte finishes reduce glare and help colors read clearly—avoid shiny or variegated yarns, which can muddy your design.
Hook selection matters:
- Use a hook 1–2 sizes smaller than recommended on the yarn label. Tighter stitches prevent the carried yarn from showing through.
- For cotton yarn, a steel or inline aluminum hook (like Furls Streamline or Clover Amour) gives better control and consistent tension.
Pro tip: Stick to solid colors. Even subtle tonal variations can distort your image. Buy extra skeins from the same dye lot—running out mid-project is every tapestry crocheter’s nightmare!
Additionally, limit your palette. Working with more than 3–4 colors per row increases bulk and makes tension harder to manage. Plan your design accordingly.
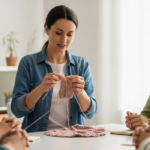
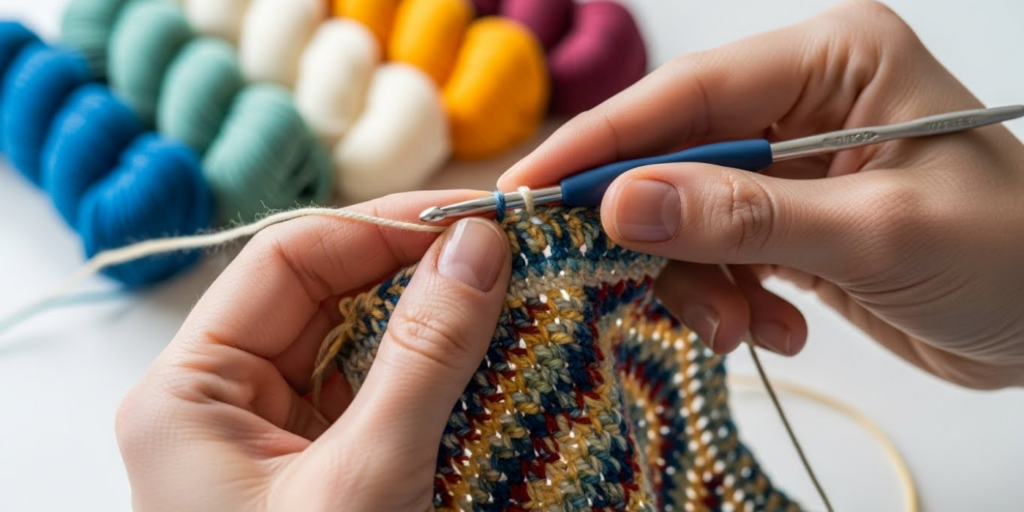
Mastering Tension and Carrying Yarn Without Bulk
One of the biggest challenges in tapestry crochet is managing multiple yarn strands without creating a lumpy, stiff fabric. The secret? Consistent tension and smart yarn handling.
How to carry yarn correctly:
- Keep inactive yarns loose but snug along the back of your work (inside the stitches).
- Don’t pull too tight—this causes puckering; don’t leave too loose—this creates gaps.
- Twist the working yarn around the carried yarn every few stitches to secure it and prevent long floats.
Hand positioning helps:
- Hold one color in your dominant hand (for crocheting) and the others over your non-dominant fingers (like knitting).
- Or use the “finger wrap” method: drape each color over a different finger to control feed and tension.
Practice exercise: Make a small swatch with alternating stripes (e.g., 2 stitches white, 2 stitches black). Focus on keeping the fabric flat and even. You’ll quickly learn how much slack to give the carried yarn.
Remember: Tapestry crochet is naturally denser than regular crochet. That’s normal! But with practice, you’ll achieve a smooth surface where only the intended color shows on top—and the back remains neat and secure.
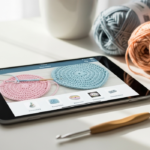
Reading Charts and Designing Your Own Patterns
Most tapestry crochet patterns use grid charts, where each square represents one single crochet stitch in a specific color. Learning to read these is like learning a new language—but a very visual one!
Tips for reading charts:
- Odd-numbered rows are usually worked right to left; even-numbered rows left to right (unless working in the round).
- Use a highlighter or ruler to track your current row.
- Mark completed sections lightly with a pencil or sticky note.
Want to design your own artwork?
Start simple:
- Choose a low-resolution image (16×16 pixels or smaller).
- Convert it to a grid using free tools like PixelCount, Stitch Fiddle, or MyPhotoStitch.
- Limit your color palette to 3–5 shades for manageability.
Beginner-friendly project ideas:
- Geometric coasters
- Pixel heart or star motifs
- Minimalist animal silhouettes
- Initials or monograms
Many artists begin by recreating 8-bit video game sprites or emoji designs—fun, nostalgic, and perfectly suited to the grid format.
Pro insight: Always make a test swatch of your key color combinations before committing to a large piece. Colors can look very different in yarn than on screen!
Avoiding Common Mistakes (and How to Fix Them)
Even experienced crocheters encounter hiccups in tapestry work. Here’s how to sidestep (or recover from) the most frequent issues:
- Colors bleeding through
→ Cause: Stitches too loose or hook too large.
→ Fix: Switch to a smaller hook and tighten your tension slightly. - Fabric curling or warping
→ Cause: Uneven tension or too many color changes in one row.
→ Fix: Block your finished piece gently with steam or wet blocking. - Yarn tangles and knots
→ Cause: Poor yarn management.
→ Fix: Keep each color on a separate bobbin or yarn butterfly, and let them dangle behind your work as you go. - Losing your place in the chart
→ Cause: Multitasking or poor lighting.
→ Fix: Work in short sessions with good light, and use a row counter.
Golden rule: Count your stitches every row. A missed stitch can throw off your entire design—and be hard to fix later.
And don’t fear frogging (ripping out)! It’s part of the process. As one seasoned tapestry crocheter says: “My best pieces were frogged at least twice. Perfection is stitched, not born.”
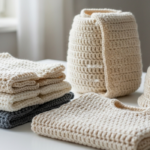
Finishing and Displaying Your Tapestry Art
Because tapestry crochet creates a dense fabric, finishing touches make a huge difference in presentation.
Weave in ends meticulously: With multiple colors, you’ll have many tails. Use a blunt tapestry needle and weave each end through several stitches on the wrong side so they’re invisible and secure.
Blocking is optional but helpful: Light steam blocking can relax the fibers and even out minor tension inconsistencies—especially important for wall art or framed pieces.
Display ideas:
- Mount small pieces in embroidery hoops for instant wall art
- Sew coasters into a set with a coordinating holder
- Turn a large square into a clutch bag with a lining and magnetic snap
- Frame your finished piece like a painting—no glass needed, thanks to the sturdy fabric
Many artists also add a fabric backing to wall hangings to protect the carried yarns and give a polished look.
Conclusion
Tapestry crochet is more than a craft—it’s a form of textile storytelling. With the right techniques, even intricate, detailed artwork becomes achievable stitch by stitch. By choosing smooth cotton yarn, mastering tension, reading charts confidently, and learning from small mistakes, you can transform simple strands of thread into bold, expressive creations that reflect your unique vision.
Whether you’re stitching a portrait of your pet, a meaningful symbol, or an abstract design, every row is a step toward something beautiful and handmade. And in a world of mass-produced decor, that handmade touch carries extraordinary value.
So don’t let the complexity of the final image intimidate you. Start small. Make a coaster. Try a 10×10 pixel heart. Let your hook be your pen, and your yarn your palette.
We’d love to see your journey!
What’s the first tapestry crochet artwork you’d love to create? Have you already tried this technique—and what surprised you most? Share your dreams, works-in-progress, or favorite color combos in the comments below! And if you know a fellow fiber artist who’s been eyeing tapestry crochet, send them this guide—they might just start their masterpiece today. Happy stitching! 🧶🎨

Sophia Williams is a crochet enthusiast who found in yarn and hooks a creative way to express calm, patience, and love for handmade art. Focused on the crochet niche, she shares her experience, techniques, and inspiration with those who want to learn, relax, and create meaningful pieces stitch by stitch.