Introduction
Imagine this: it’s Friday evening, your favorite cozy blanket is draped over the couch, a mug of tea steams beside you, and within 48 hours, you’ve created an adorable mini sloth, a smiling cactus, or a sleepy owl—all with just yarn, a hook, and a few spare hours. Sounds satisfying, right?
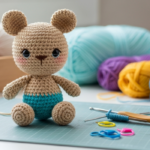
Amigurumi—the Japanese art of crocheting small, stuffed creatures—has exploded in popularity for good reason. These tiny, whimsical projects are quick to make, portable, and perfect for beginners and seasoned crocheters alike. Plus, they make heartfelt gifts, charming decor, or delightful additions to your growing collection.
In this article, we’ll share five irresistibly cute amigurumi patterns you can realistically finish over a single weekend—even if you’ve only mastered the basic single crochet. We’ll also cover essential tips for clean stitching, neat finishes, and beginner-friendly techniques like invisible decreases and magic rings. By Sunday night, you won’t just have a new handmade treasure—you’ll have the confidence to tackle even more.
So grab your hooks, fluff up that yarn, and let’s turn your weekend into a creative crafting escape!
Why Amigurumi Is Perfect for Weekend Projects
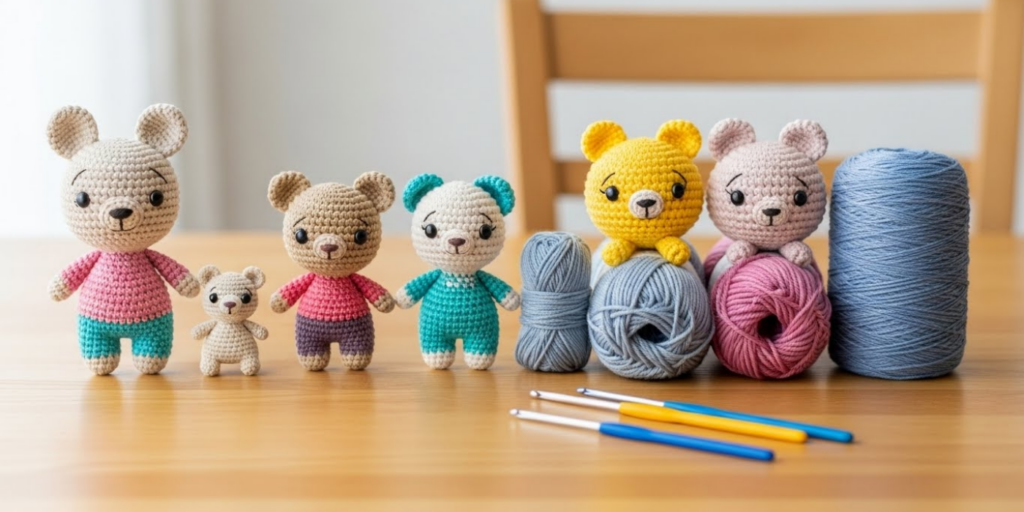
Amigurumi might look intricate, but most patterns are surprisingly simple. They’re typically worked in the round using just a few basic stitches—single crochet (sc), increase, and decrease—and require minimal supplies: a small hook (usually 2.5–3.5 mm), worsted or cotton yarn, a tapestry needle, and some fiberfill.
Here’s why they’re ideal for short bursts of crafting:
- Small size = fewer rounds and faster completion
- Repetitive stitches = meditative, low-stress rhythm
- No seams (most are worked in continuous spirals) = less finishing work
- Portable = easy to take to coffee shops or couch-side
Plus, the satisfaction-to-effort ratio is off the charts. In just 3–6 hours per piece, you can create something tangible, huggable, and uniquely yours.
Real-life bonus: Amigurumi uses very little yarn—often less than 50 grams per project. That means you can finally use up those leftover skeins or mini balls collecting dust in your stash.
Whether you’re looking for a mindful break from screens or a fun craft to share with kids (older ones can even help stuff and sew on eyes!), amigurumi fits seamlessly into a busy weekend without demanding perfection.
Essential Tools & Techniques for Clean, Professional Results
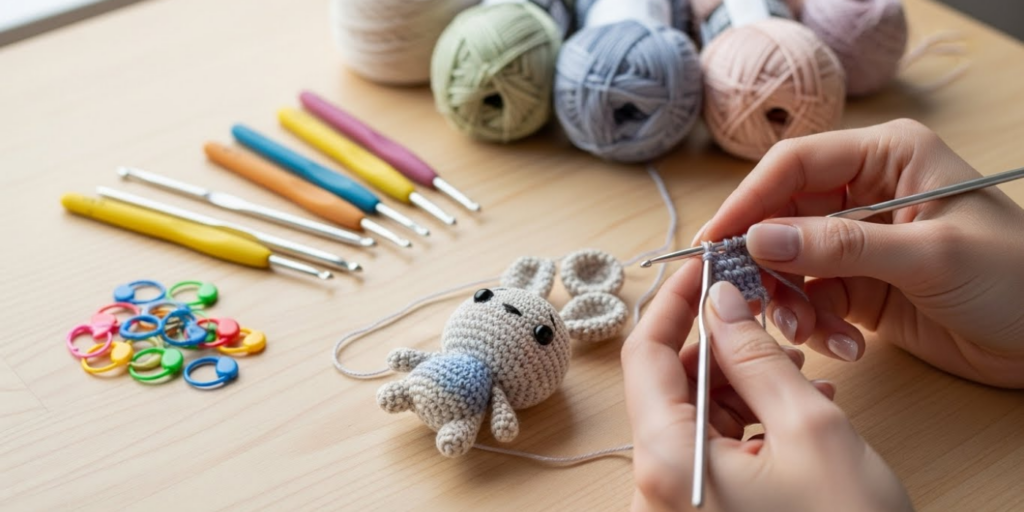
Before diving into patterns, let’s cover a few game-changing techniques that elevate your amigurumi from “homemade” to “handcrafted masterpiece.”
1. The Magic Ring
Instead of starting with a chain and joining (which leaves a hole), the magic ring lets you begin your first round with a tight, adjustable loop. It’s non-negotiable for neat heads, bodies, and limbs.
2. Invisible Decrease (inv dec)
Standard decreases can leave a slight bump. The invisible decrease—working through the front loops only—creates a smoother, seamless curve. It’s especially important for faces and rounded bodies.
3. Tight Tension & Small Hooks
Use a hook 1–2 sizes smaller than recommended for your yarn. This creates dense, tight stitches that hide stuffing and give your amigurumi that polished “toy-like” finish.
4. Safety Eyes vs. Embroidered Features
If your amigurumi is for a child under 3, always embroider eyes with yarn or thread. For decorative pieces, 6–9 mm safety eyes add realism—but insert them before closing the head for easiest placement.
Pro tip: Stuff gradually as you go! Over-stuff slightly for a plump, huggable look—but avoid lumps by adding small amounts at a time and smoothing with your fingers.
These techniques take just a few minutes to learn but dramatically improve your final result. And don’t worry—we’ll link to video tutorials for each in the pattern descriptions below.
Pattern #1: The Weekend Sloth (Beginner-Friendly & Adorable)
There’s a reason sloths are amigurumi darlings: their slow-moving nature translates perfectly into simple shapes—round head, oval body, and stubby limbs.
Time required: ~4 hours
Yarn: Light worsted cotton (like Lion Brand 24/7 Cotton or Paintbox DK) in brown and cream
Hook: 3.0 mm
Key features:
- Magic ring start
- Seamless body worked in one piece
- Minimal sewing (just attach arms and ears)
Why you’ll love it: The sloth’s sleepy face requires only two safety eyes and a tiny embroidered smile. Its curved claws are made with simple chain stitches—no advanced shaping needed.
Perfect for: Keychains, shelf buddies, or baby shower gifts. Add a tiny leaf for extra charm!
Bonus: This pattern teaches you how to attach limbs at angles for a natural “hanging” pose—great foundational skill for future projects.
Pattern #2: Mini Cactus Pal (No Green Thumb Required!)
Bring some desert cheer indoors with a smiling cactus that never needs watering. This pattern uses basic increases and decreases to form a plump pot and spiky arms.
Time required: ~3 hours
Yarn: Green and terracotta worsted weight
Hook: 2.75 mm
Key features:
- Pot and cactus worked separately, then joined
- Spikes created with slip stitches and short chains
- Optional flower bloom on top
Why it’s weekend-worthy: All pieces are small and quick. The pot hides any minor tension issues, and the cactus body is just a simple tube with arms.
Customization idea: Make a whole garden! Use different green shades or add googly eyes for extra personality. These also make fantastic pin cushions or desk mascots.
Pattern #3: Sleepy Owl Nightlight Buddy
Soft, round, and impossibly sweet, this owl doubles as a comforting nightlight companion for kids (or adults who love cozy vibes).
Time required: ~5 hours
Yarn: Light gray, white, and yellow cotton
Hook: 3.0 mm
Key features:
- Large, expressive eyes with layered embroidery
- Wings shaped with gentle decreases
- Optional LED tea light tucked inside for a soft glow
Skill boost: This pattern introduces color changes and surface crochet for feather details—great for leveling up without overwhelm.
Pro tip: Use embroidery floss for the eyes to add depth and sparkle. A few French knots for highlight dots make them look alive!
Pattern #4: Tiny Cat in a Teacup (Whimsy in 6 Hours)
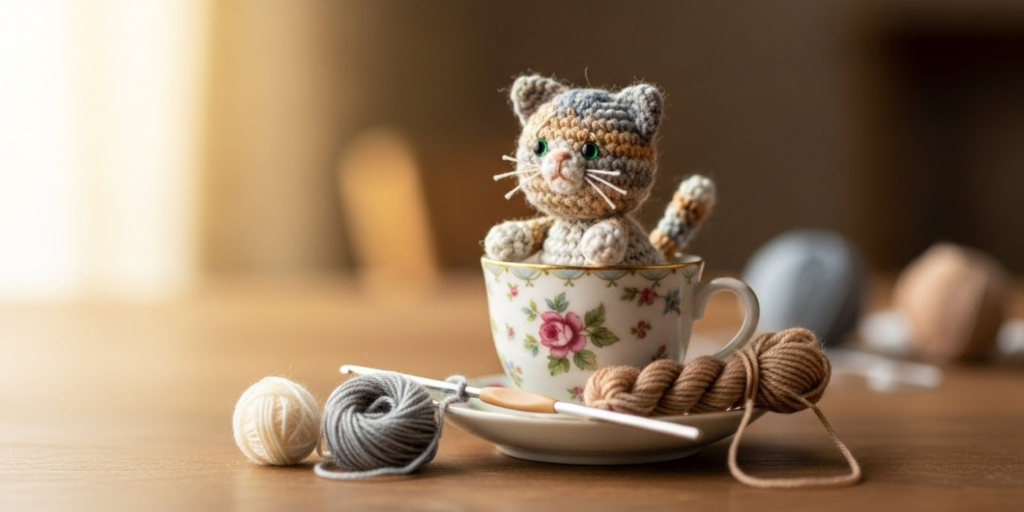
Because who doesn’t want a kitten nestled in a teacup? This two-part project combines a simple teacup base with a curled-up cat—adorable and surprisingly easy.
Time required: ~6 hours
Yarn: Pastel pink (cup) and gray/white (cat)
Hook: 2.5 mm for cup, 3.0 mm for cat
Key features:
- Cup worked in spiral with handle added last
- Cat curled in a “C” shape using short rows
- Minimal facial features for maximum cuteness
Why it shines: The teacup uses basic stitches but looks intricate thanks to the handle and rim shaping. The cat’s pose hides the stuffing seam beautifully.
Gift idea: Perfect for teachers, tea lovers, or new cat owners. Add a tiny “steaming” yarn swirl for extra charm.
Pattern #5: Smiling Avocado (Trendy, Tasty, and Quick!)
Ride the avocado toast wave with this cheerful fruit amigurumi—complete with a removable pit!
Time required: ~3.5 hours
Yarn: Green, brown, and beige
Hook: 3.0 mm
Key features:
- Two-tone green skin created with simple color striping
- Pit designed as a separate oval that fits snugly inside
- Embroidered blush cheeks for extra sweetness
Beginner win: No complex shaping—just spheres and ovals. The pit adds playful interactivity (great for sensory toys!).
Bonus: Make a whole fruit bowl! Pair with banana, lemon, or strawberry amigurumi for a fun kitchen display.
Tips for a Stress-Free, Joyful Weekend Crochet Session
To make the most of your crafting time:
- Prep your kit: Wind yarn, organize hooks, and gather stuffing beforehand.
- Work in good light: Natural daylight or a bright lamp reduces eye strain.
- Take breaks: Every 45 minutes, stretch your hands to avoid fatigue.
- Embrace imperfection: Slightly lopsided ears? That’s part of the charm! Amigurumi is about joy, not precision.
And remember: you don’t need to finish all five! Pick one that sparks joy, and savor the process. The goal isn’t speed—it’s satisfaction.
Conclusion
This weekend, you have the chance to create something beautiful, useful, and utterly delightful—all with your own two hands. From the cuddly sloth to the cheeky avocado, these five amigurumi patterns are designed for quick wins, beginner success, and maximum cuteness.
We’ve covered why amigurumi is perfect for short crafting bursts, shared essential techniques for polished results, and highlighted five charming projects you can finish in a single weekend. Each one builds confidence while delivering instant gratification.
So light a candle, queue up a podcast or lo-fi playlist, and let your hook do the talking. By Sunday night, you’ll have more than a new plushie—you’ll have the quiet pride of making something with care.
Now we’d love to hear from you!
Which amigurumi are you most excited to make? Do you have a favorite yarn for small projects? Share your plans or post a photo of your finished creation in the comments below! If this list inspired you, share it with a friend who needs a cozy weekend project. Happy crocheting—and may your stitches be tight, your stuffing fluffy, and your heart full!

Sophia Williams is a crochet enthusiast who found in yarn and hooks a creative way to express calm, patience, and love for handmade art. Focused on the crochet niche, she shares her experience, techniques, and inspiration with those who want to learn, relax, and create meaningful pieces stitch by stitch.