Introduction
You’ve spent hours—maybe days—perfecting your crochet piece. Every stitch is intentional, the yarn is soft and high-quality, and the pattern is flawless. But when you list it online, it gets zero clicks. Why? The photos might be the culprit.
In the world of online marketplaces like Etsy, Instagram, or Shopify, your product photos are your first—and often only—chance to make an impression. Studies show that 67% of consumers say image quality is more important than product descriptions when making a purchase (Source: Shopify). For handmade goods, where texture, color, and craftsmanship matter deeply, great photography isn’t a luxury—it’s essential.
The good news? You don’t need a professional studio or a $2,000 camera to take stunning photos. With natural light, a clean background, thoughtful styling, and a few smart smartphone tricks, you can create images that make your crochet work look irresistible.
In this guide, we’ll walk you through a step-by-step system to photograph your crochet projects like a pro—using tools you already own. You’ll learn how to showcase texture, capture true colors, style your pieces for maximum appeal, and edit your photos without making them look fake. By the end, you’ll have a repeatable process that boosts engagement, builds trust, and turns scrollers into buyers.
1. Natural Light Is Your Best Friend (And How to Use It)
Forget harsh overhead lights or yellow-tinted lamps. Soft, natural daylight is the gold standard for handmade photography—and it’s free.
Why? Natural light reveals true yarn color, highlights stitch definition, and adds dimension without creating unflattering shadows or glare. It makes your work look clean, fresh, and inviting.
Best times to shoot:
- Early morning (8–10 a.m.) or late afternoon (2–4 p.m.)—when sunlight is soft and diffused.
- Avoid midday sun (11 a.m.–2 p.m.), which creates harsh shadows.
How to set up:
- Place your project near a large window (not in direct sun).
- Use a white poster board or foam core opposite the window to bounce light and fill in shadows.
- Turn off indoor lights—they’ll add unwanted color casts.
Pro tip: Shoot on cloudy days! Overcast skies act like a giant softbox, giving you even, flattering light all day long.
If you only have artificial light, use a ring light with daylight-balanced bulbs (5000K–5500K), but natural light will always look more authentic for fiber arts.
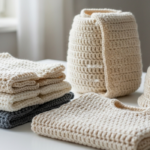
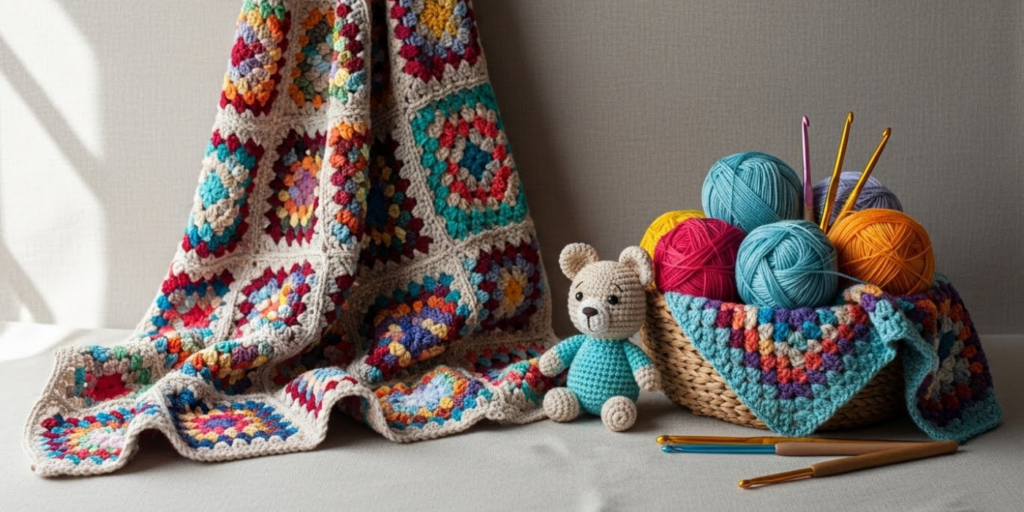
2. Choose the Right Background and Surface

Your background should enhance—not distract from—your crochet piece. Busy patterns, bold colors, or cluttered surfaces pull attention away from your product.
Ideal backgrounds:
- White or light gray seamless paper: Clean, professional, and perfect for main product shots (especially for Etsy).
- Wooden table or neutral linen: Adds warmth and organic texture—great for lifestyle shots.
- Marble, concrete, or ceramic tiles: Modern and minimalist.
Avoid:
- Patterns (stripes, florals)
- Dark backgrounds (unless your item is very light and well-lit)
- Wrinkled fabric or dusty surfaces
Styling trick: Layer textures subtly. For example, place a cream crochet blanket on a light oak table with a folded linen napkin nearby—not matching, but harmonious.
Pro move: Keep 2–3 go-to backdrops on hand so you can switch between “e-commerce clean” and “lifestyle cozy” depending on your post.
Remember: your crochet should be the star. Everything else is supporting cast.
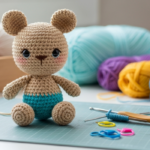
3. Showcase Details That Build Trust and Desire
Online shoppers can’t touch your work—so your photos must simulate that tactile experience. Focus on details that convey quality and craftsmanship.
Essential shots to include:
- Full product view: Show the entire item clearly (e.g., a hat laid flat or worn).
- Close-up of texture: Zoom in on stitches, cables, or lace to highlight your skill.
- Scale shot: Show size context—e.g., a beanie on a head, a bag held in hands, or a coaster next to a coffee mug.
- Color accuracy: Include a shot in neutral lighting with no filters.
- Functionality: Show your item in use—a shawl draped over shoulders, a market bag holding groceries.
Example: If you’re selling a baby blanket, include:
- A flat lay showing the full pattern
- A close-up of the border detailing
- The blanket wrapped around a doll (for scale)
- A styled shot in a nursery setting
Why this works: These images answer unspoken buyer questions: Is it soft? How big is it? Will it look like the photos? The more you show, the fewer doubts they’ll have—and the more likely they are to click “Add to Cart.”
4. Style with Intention—Less Is More
Styling isn’t about “decorating”—it’s about creating context that tells a story. A well-styled photo helps the buyer imagine your item in their own life.
Guidelines for effective styling:
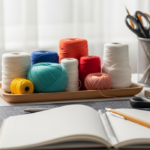
- Limit props to 1–3 items max. Too many look cluttered.
- Choose neutral, non-competitive props: wood, ceramic, stone, linen, greenery (like eucalyptus or olive branches).
- Match your brand aesthetic: Rustic? Use burlap and mason jars. Minimalist? Stick to white and marble.
- Avoid branded items (logos on mugs, labels on books)—they distract and date your photos.
Real-life example:
Lena sells boho crochet tops. Instead of a plain mannequin, she styles them on a model lounging on a woven rug with a terra-cotta pot and dried pampas grass nearby. The vibe says “effortless, earthy, handcrafted”—exactly her brand.
Transitional tip: Rotate your piece to show different angles—front, back, side—but keep the background consistent so your shop looks cohesive.
And never use mannequins with distorted proportions—they make garments look odd. Dress forms or real models (even just your hands!) work better.
5. Optimize Your Smartphone Camera (No DSLR Needed)
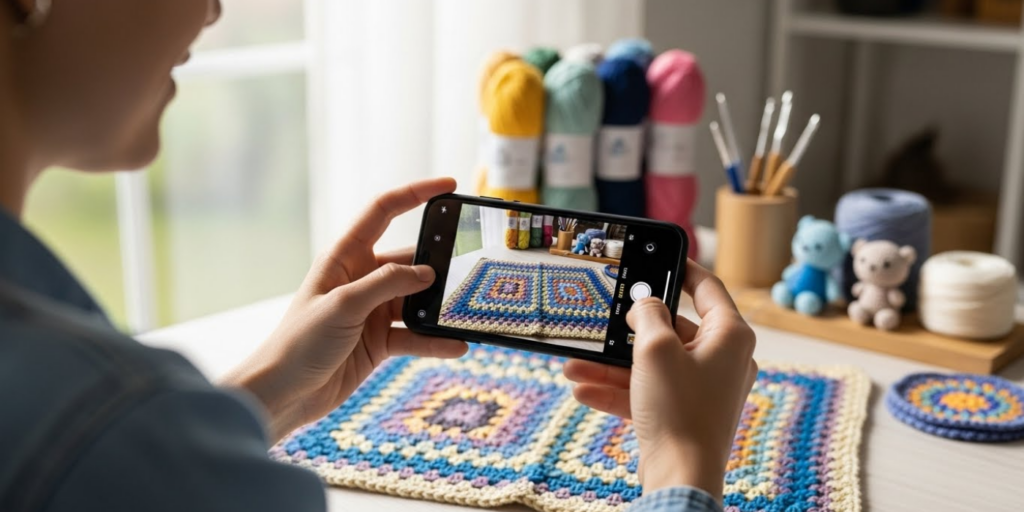
You don’t need fancy gear—most modern smartphones take excellent photos if you know how to use them.
Smartphone photography tips:
- Clean your lens (smudges cause blurry shots).
- Use the rear camera—it’s higher quality than the front-facing one.
- Tap to focus on your project before shooting.
- Shoot in RAW or “Pro” mode if available (gives more editing flexibility).
- Turn off flash and HDR—they flatten texture and alter colors.
Composition tricks:
- Use the rule of thirds: Imagine your screen divided into a 3×3 grid. Place your item along the lines or at intersections for visual balance.
- Leave negative space around your subject—it gives the eye room to rest.
- Shoot from multiple heights: eye level, slightly above (for flat lays), or close-up (for texture).
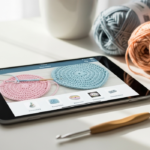
Bonus: Use free apps like Snapseed, Lightroom Mobile, or VSCO for light editing—more on that next.
6. Edit Thoughtfully—Enhance, Don’t Distort
Editing should correct, not transform. Your goal is to show your item as it truly looks in person—not as a filtered fantasy.
Do this:
- Adjust brightness and contrast so shadows aren’t too dark and whites aren’t blown out.
- Tweak white balance to remove yellow or blue casts (your whites should look neutral).
- Sharpen slightly to bring out stitch detail.
- Crop tightly to remove distractions.
Never do this:
- Over-saturate colors (yarn will look fake)
- Add heavy filters (they mask true texture)
- Blur the background artificially (it looks amateurish)
Pro workflow:
- Take 10–15 photos from different angles.
- Pick 3–5 best shots.
- Edit each one identically (so colors stay consistent across your shop).
- Save in high resolution (at least 2000px on the long edge for web).
Consistency across your product photos builds brand trust. Buyers should recognize your work instantly—even without your logo.
The Bigger Picture: Photos as Silent Salespeople
Great product photography does more than show an item—it evokes feeling, tells a story, and builds confidence. When someone sees a beautifully lit, well-styled photo of your crochet shawl, they don’t just see yarn—they see warmth, care, and craftsmanship. They imagine themselves wearing it on a crisp autumn walk or gifting it to someone they love.
That emotional connection is what turns browsers into loyal customers.
Conclusion
Photographing your crochet projects for online sales doesn’t require expensive equipment or design skills—it just takes intention, consistency, and attention to detail. By harnessing natural light, choosing clean backgrounds, showcasing key details, styling with purpose, using your smartphone wisely, and editing with restraint, you can create images that truly represent your work and speak directly to your ideal customer.
Start small: pick one item from your shop and re-shoot it using just three tips from this guide. Notice the difference in how it feels—and how people respond.
We’d love to see your before-and-after! What’s your biggest photography struggle—lighting, styling, or editing? Share your questions or wins in the comments below. And if this guide helped you level up your product photos, pass it on to a fellow maker who’s ready to shine online. Your beautiful crochet deserves to be seen—and sold!

Sophia Williams is a crochet enthusiast who found in yarn and hooks a creative way to express calm, patience, and love for handmade art. Focused on the crochet niche, she shares her experience, techniques, and inspiration with those who want to learn, relax, and create meaningful pieces stitch by stitch.