Introduction
Picture this: you’re halfway through a cozy blanket, and you realize you’re out of the perfect sage green yarn… but you know you bought extra. You tear through drawers, peek under the couch, and finally find it—tangled, dusty, and sadly, paired with a half-chewed tag courtesy of your curious cat. Sound familiar?
If you’re new to crocheting, you’ve probably discovered that yarn isn’t just a crafting supply—it’s a growing collection with a personality of its own. And like any collection, it thrives with a little structure. Learning how to store and organize yarn isn’t about perfection or Pinterest-worthy shelves (though that’s a nice bonus!). It’s about saving time, protecting your investment, and making your creative process smoother and more enjoyable.
In this guide, we’ll walk you through practical, beginner-friendly strategies to keep your yarn tidy, accessible, and tangle-free. From choosing the right storage containers to categorizing by weight or project, you’ll discover simple systems that fit real life—not just ideal scenarios. Whether you have one tote bag of yarn or a closet full, these tips will help you crochet with confidence, not chaos. Let’s turn that yarn jumble into a joyful, functional stash!
Why Yarn Organization Matters (Even for Beginners)

You might think, “I only have a few skeins—why bother organizing?” But here’s the thing: yarn chaos multiplies faster than stitches in a granny square. One project leads to two, which leads to ten. Before you know it, you’re digging through a yarn avalanche just to find your size H hook.
More importantly, proper storage protects your yarn. Sunlight can fade vibrant colors. Humidity invites mildew. And curious pets (or toddlers!) can unravel an entire skein in minutes. Organizing isn’t just about neatness—it’s about preserving the quality of your materials.
It also boosts your creativity. When you can see what you own, you’re more likely to use it. Ever bought yarn for a project, forgot you had it, and bought it again? A clear system prevents duplicate purchases and helps you plan smarter projects.
Finally, knowing exactly where everything is reduces project-start friction. When inspiration strikes, you want to grab your yarn and go—not spend 20 minutes hunting for the right weight or color. Good organization = more making, less stressing.
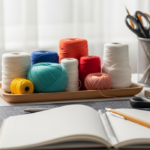
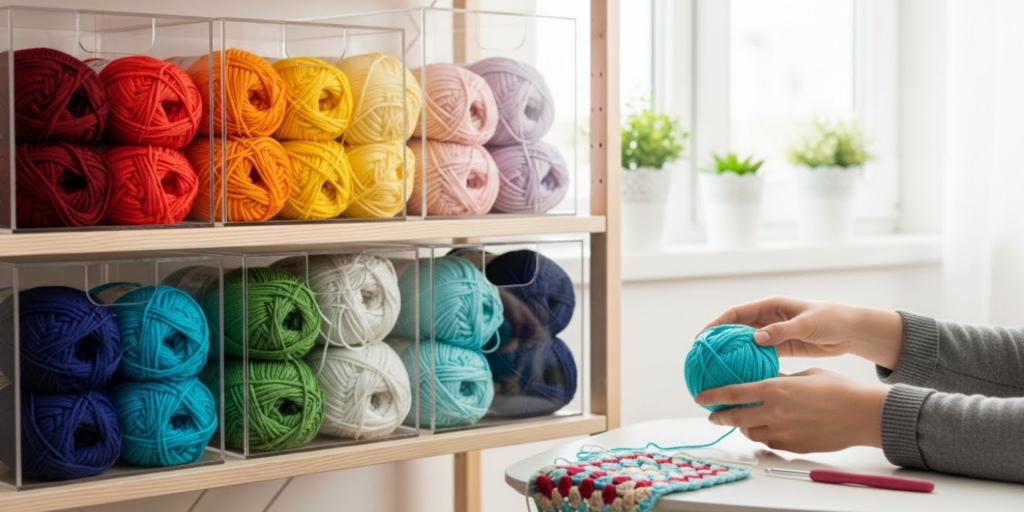
Choosing the Right Storage Solutions for Your Space
You don’t need expensive cabinets or custom closets. The best storage solution is the one you’ll actually use—and that fits your space and budget.
For Small Spaces (Apartments, Dorms, Tiny Craft Corners):
Clear plastic bins are your best friend. They’re stackable, affordable, and let you see contents at a glance. Look for ones with latching lids to keep out dust and pests. Under-bed storage bins work wonders—they’re out of sight but easily accessible.
Over-the-door shoe organizers aren’t just for shoes! Each pocket holds a skein or ball of yarn. Hang one on your closet or craft room door for instant, space-saving storage.
For Medium to Large Stashes:
Bookshelves or cube storage units (like the popular IKEA Kallax) offer open, visible storage. Use fabric bins or labeled baskets in each cube to group yarn by weight, fiber, or project. Bonus: they double as decor!
Avoid These Common Traps:
- Cardboard boxes: They attract bugs, absorb moisture, and tear easily.
- Plastic bags (long-term): Trapped moisture can lead to mildew. Use them only for short-term transport.
- Direct sunlight: UV rays weaken fibers and fade colors. Store yarn in shaded areas.
Pro Tip: If you rent or move often, opt for portable, modular systems—like stackable totes or rolling carts—so your stash travels with you.
How to Sort and Categorize Your Yarn
Once you have containers, the next step is sorting. But how? There’s no single “right” way—just what works best for you. Here are three beginner-friendly methods:
1. By Project
If you’re working on multiple pieces (a scarf, a hat, and amigurumi), keep all yarn for each project together in labeled zip-top bags or small totes. Include your hook, pattern, and any notions. This “project-in-a-bag” method means you can grab and go anywhere.
2. By Yarn Weight
The Craft Yarn Council classifies yarn into standard weights (Lace, Fingering, Sport, DK, Worsted, Bulky, etc.). Sorting this way makes it easy to substitute yarns or start new patterns. Use colored labels or bins: e.g., green for Worsted, blue for DK.
3. By Color or Fiber
If you design your own patterns or love colorwork, grouping by hue (whites, neutrals, brights) helps you visualize combinations. Alternatively, group by fiber (cotton, acrylic, wool) if care instructions or drape matter for your projects.
Start Simple: Try one method first. You can always refine later. The goal isn’t rigid taxonomy—it’s findability.
Label Everything!
Use a label maker, masking tape, or sticky notes to mark bins: “Worsted – Reds,” “Project: Baby Blanket,” etc. Include yardage if you know it. Future you will be grateful.
Preventing Tangles, Moths, and Other Yarn Nightmares
Organization isn’t just about placement—it’s about preservation. Here’s how to keep your yarn in pristine condition:
Keep It Tangle-Free:
- Don’t pull from the center unless the skein is designed for it (many pull skeins aren’t). Wind hanks into balls using a swift or the back of a chair.
- Store yarn in net vegetable bags (like onion sacks) or mesh laundry bags. They allow airflow while holding everything together.
- For leftover yarn, wind into small, labeled center-pull balls and store in clear jars or compartment boxes.
Protect Against Pests:
Natural fibers like wool are vulnerable to moths. Store them with cedar blocks, lavender sachets, or sealed containers. Avoid mothballs—they’re toxic and leave a strong odor.
Check your stash every few months for tiny holes or webbing—early signs of infestation.
Control Environment:
- Store yarn in a cool, dry place (ideally 60–70°F with low humidity).
- Avoid attics (too hot) and basements (too damp).
- If you live in a humid climate, toss a silica gel packet into each storage bin.
Bonus Tip: Never store yarn in plastic wrap long-term. It traps moisture and can cause “yarn funk”—a musty smell that’s hard to remove.
Creative Storage Ideas That Are Practical and Pretty
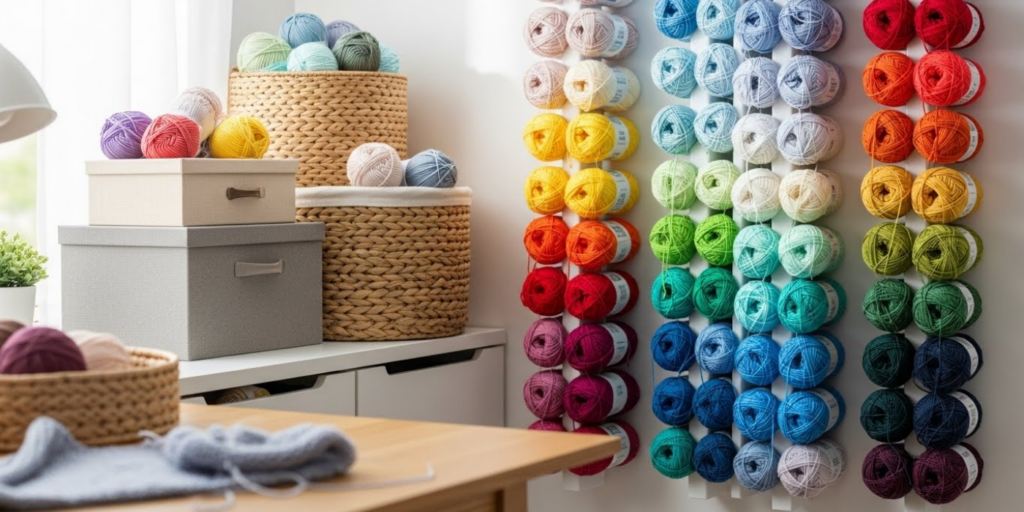
Who says organization can’t be inspiring? With a little creativity, your yarn storage can double as decor.
Glass Jars or Apothecary Containers:
Display colorful yarn balls in clear jars on a shelf. It’s functional art that sparks joy every time you walk by.
Wall-Mounted Pegboards:
Install a pegboard in your craft nook. Hang hooks for project bags, skeins, or even labeled spools of leftover yarn. Customize it as your stash grows.
Vintage Suitcases or Baskets:
Thrifted suitcases or woven baskets add charm while hiding clutter. Use one for “active projects” and another for “future makes.”
IKEA RÅSKOG Cart:
This popular rolling cart has three tiers—perfect for separating yarn by category. Roll it out when crafting, tuck it away after. Mobile and minimalist!
DIY Yarn Bowl:
Carve or 3D-print a yarn bowl with a small slit to guide yarn smoothly as you work. Keeps skeins from rolling away and looks lovely on your coffee table.
Remember: the best system is one you enjoy using. If your storage makes you smile, you’ll stick with it.
Building Good Habits from Day One
The secret to long-term yarn organization? Consistency, not intensity.
Start with these simple habits:
- Put yarn away immediately after use—not “later.”
- Wind leftovers right away into labeled balls.
- Do a 5-minute weekly tidy: Reshape bins, check labels, toss damaged yarn.
- Audit your stash quarterly: Donate unused yarn, note gaps (e.g., “need more black DK”), and celebrate how far you’ve come!
Think of it like brushing your teeth—small, regular actions prevent big problems down the road.
Also, don’t strive for perfection. Some mess is normal! The goal is workable order, not a magazine spread. Even a slightly organized stash is better than none.
Why Your Yarn Deserves Respect (and So Do You)
Here’s a gentle truth: how you treat your supplies often reflects how you treat your creative self. Throwing yarn in a heap might seem harmless, but over time, it sends a subtle message: “This isn’t important.”
But your crafting is important. It’s self-expression. Relaxation. Legacy. Every skein holds potential—a baby’s first blanket, a gift for a grieving friend, a symbol of your growth as a maker.
Organizing your yarn is an act of self-respect. It says, “My time matters. My creativity matters. This craft matters.”
So when you take a moment to label a bin or wind a leftover ball, you’re not just tidying up—you’re honoring your journey as a crocheter.
Conclusion
Storing and organizing yarn isn’t about control—it’s about care. For your materials, your space, and your creative flow. As a new crocheter, building simple systems now will save you countless hours (and tears!) later. You’ll spend less time untangling and more time making.
We’ve explored why organization matters, how to choose storage that fits your life, practical sorting methods, preservation tips, and even beautiful ways to display your stash. The key takeaway? Start small, stay consistent, and prioritize what makes your crafting easier.
You don’t need a perfect system—just a functional one that grows with you. So grab a few clear bins, label your first batch, and give your yarn the home it deserves.
Now we’d love to hear from you: How do you store your yarn? Do you have a favorite hack or a storage disaster story to share? Leave a comment below—your tip might be just what another new crocheter needs! And if you found this guide helpful, share it with a friend who’s drowning in yarn chaos. Happy organizing—and happy crocheting!

Sophia Williams is a crochet enthusiast who found in yarn and hooks a creative way to express calm, patience, and love for handmade art. Focused on the crochet niche, she shares her experience, techniques, and inspiration with those who want to learn, relax, and create meaningful pieces stitch by stitch.