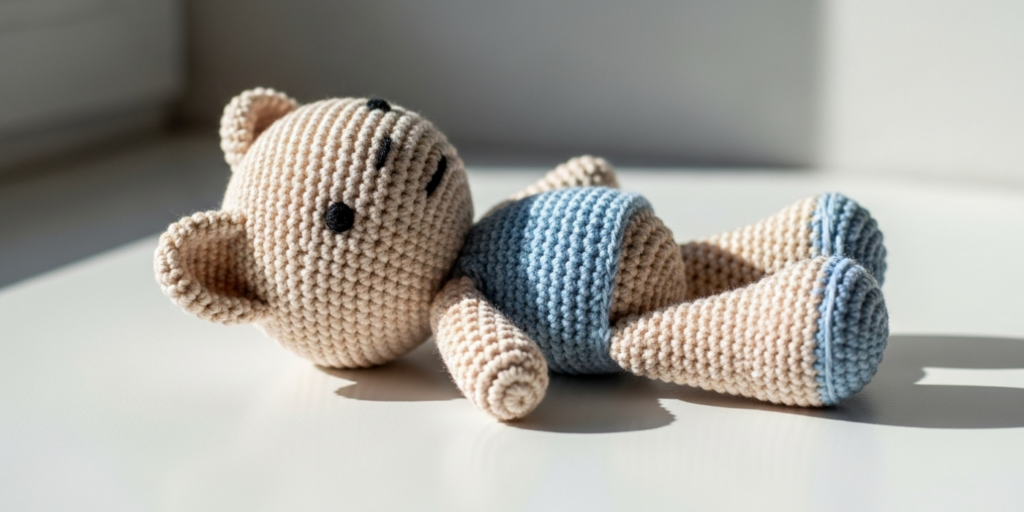
Introduction
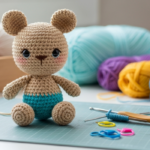
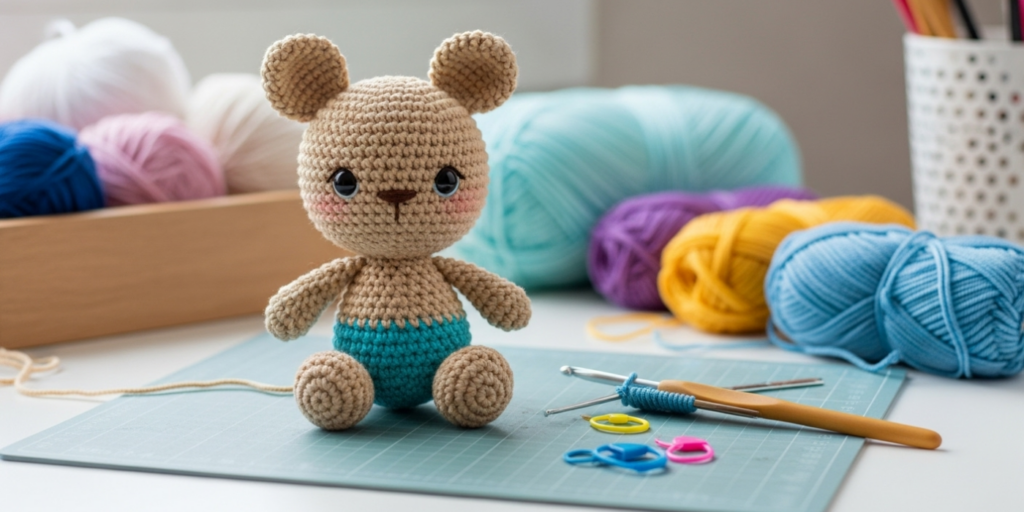
You’ve mastered the basic sphere. You can crochet tidy limbs, stitch closed seams invisibly, and embroider simple eyes. But now you’re ready for more—you want your amigurumi to look alive. You dream of animals with expressive faces, creatures with natural curves, and characters so full of personality they seem ready to hop off your worktable.
The good news? Realism in amigurumi isn’t about complexity—it’s about precision, proportion, and thoughtful details. With a few advanced techniques, even small adjustments can transform a cute plush into a lifelike companion.
In this guide, we’ll go beyond beginner basics to explore professional-level strategies for sculpting realistic shapes, creating expressive features, and adding finishing touches that elevate your work. Whether you’re crafting a fox with perky ears, a sloth with sleepy eyes, or a fantasy dragon with layered scales, these tips will help you bring depth, dimension, and soul to your creations.
Because amigurumi isn’t just about stuffing yarn—it’s about breathing life into every stitch.
1. Master the Art of Shaping with Strategic Increases and Decreases
Beginner amigurumi often uses uniform increases (e.g., “inc in every 6th st”) to create spheres. But real bodies aren’t perfectly round—they’re organic, asymmetrical, and full of subtle contours.
Advanced shaping techniques:
- Offset increases/decreases: Instead of placing all increases in the same spot each round, stagger them every few rounds to avoid visible lines and create smoother curves.
- Targeted shaping: Add extra stitches only where needed—e.g., more rounds at the muzzle of a dog, fewer at the back of the head.
- Oval and teardrop forms: Start with a foundation chain (e.g., ch 4, work in continuous rounds) for elongated bodies, snouts, or tails.
Example: A realistic bunny head isn’t a sphere—it’s slightly flattened at the cheeks and elongated at the nose. Work more rounds in the front third of the head and fewer on the sides.
Pro tip: Sketch your design from multiple angles first. Note where volume should swell (cheeks, belly) and where it should taper (neck, limbs).
As one amigurumi artist says: “Think like a sculptor, not just a crocheter.”
2. Use Multiple Yarn Types and Stuffing Densities for Dimension
All yarn is not created equal—and neither is stuffing.
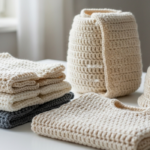
Yarn selection:
- Use smooth, tightly spun cotton or acrylic (like WeCrochet’s Brava or Cotton Pop) for clean stitch definition.
- For fur or texture, add a second strand of eyelash yarn or brushed mohair—but only in specific areas (e.g., mane, tail).
- Blend colors subtly: Hold two similar shades together for a heathered effect (e.g., light + medium brown for a fox).
Stuffing strategy:
- Firmly stuff heads and paws for structure.
- Loosely stuff limbs and tails for natural drape and poseability.
- Use poly pellets or weighted beads in the base of sitting animals to help them stay upright.
Bonus: For ultra-realistic weight, insert a small fabric pouch filled with plastic pellets inside the body before final closure.
These small choices create tactile realism—your amigurumi will not only look lifelike but feel substantial and balanced in the hand.
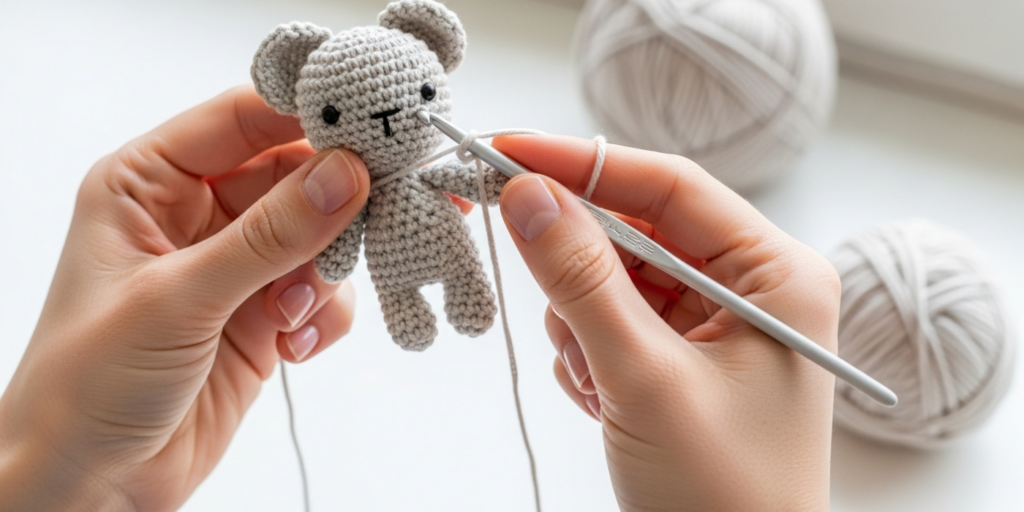
3. Create Expressive, Lifelike Faces with Embroidery and Layering
The eyes and mouth make or break realism. Basic black safety eyes and a straight-line mouth work for cute—but not for character.
Advanced face techniques:
- Embroidered eyes with dimension: Use French knots for pupils, satin stitch for highlights, and layered thread colors (e.g., dark brown base, lighter brown rim) for depth.
- Avoid symmetry: Real animals have slightly uneven eyes or crooked grins—embrace imperfection!
- Noses and mouths: Use split backstitch for smooth curves, or 3D felt appliqués for snouts (glue or sew a shaped felt piece onto the face, then embroider around it).
Pro tip: Test expressions on paper first. Draw your animal’s face 5 different ways—wide-eyed, sleepy, curious—and choose the one that fits its personality.
Safety note: For children’s toys, always embroider features instead of using plastic eyes.
Remember: The face is the soul of your amigurumi. Spend extra time here—it’s worth it.
4. Add Realistic Details with Surface Crochet and Appliqué
Realism lives in the details: whiskers, claws, scales, fur tufts, and ear veins.
Surface crochet techniques:
- Whiskers: Use embroidery floss or fine yarn. Anchor one end inside the head, bring the needle out, and secure with tiny backstitches. Trim to length.
- Claws or hooves: Crochet tiny ovals or use fabric paint for subtle definition.
- Feathers or scales: Work surface slip stitches in rows or clusters to mimic texture.
Appliqué ideas:
- Cut felt ears with inner lining for contrast (e.g., pink inside bunny ears)
- Add fabric wings for birds or bats—heat-seal edges to prevent fraying
- Use fabric glue sparingly to attach delicate pieces, then reinforce with hidden stitches
Key principle: Less is more. A few well-placed details read as realistic; too many look cluttered.
As one designer puts it: “I don’t add every feather—I suggest them.”
5. Refine Seam Placement and Joining for Cleaner Silhouettes
Visible seams can break the illusion of realism—especially on limbs, ears, or tails.
Advanced joining methods:
- Invisible join (also called “Russian join” or “loop join”): Weave yarn ends into the stitches instead of knotting.
- Spiral rounds without slip stitches: Eliminate the jog line on striped bodies.
- Attach limbs at an angle: Instead of straight down, sew arms slightly forward for natural posture.
Seam hiding tricks:
- Place seams along natural body lines (e.g., underarms, back of legs)
- Use matching thread for sewing—don’t rely on contrasting yarn
- Stuff as you sew: This prevents flat, lifeless limbs
Pro tip: Pin pieces in place with glass-head pins before sewing. Adjust until the pose looks natural—then stitch.
Clean construction means your focus stays on the character, not the craftsmanship.
6. Customize Proportions Based on Real Anatomy (or Intentional Stylization)
Even stylized amigurumi benefit from anatomical awareness.
Study real references:
- Look at photos of your animal from multiple angles
- Note proportions: Is the head 1/3 of the body (like a kitten) or 1/5 (like an adult dog)?
- Observe how limbs connect: Do elbows point backward (cats) or forward (bears)?
Intentional stylization:
- Big eyes + small nose = cute (great for gifts)
- Accurate snout length + ear placement = realistic (ideal for collectors)
- Exaggerated features = character (think studio Ghibli or Disney)
Golden rule: Be consistent. If you stylize the head, stylize the body the same way—don’t mix realism and cartoon unless it’s deliberate.
A fox with realistic fur but cartoonishly huge feet will feel “off.” Harmony creates believability.
7. Block and Finish for a Polished, Professional Look
The final 10% of work makes your amigurumi look store-bought—not handmade-in-a-hurry.
Finishing steps:
- Lightly steam block (hover a steamer 6 inches away—never touch wet yarn!) to even out stitches
- Trim stray fibers with small embroidery scissors
- Brush gently with a soft toothbrush to soften cotton yarn
- Add gloss: Use a tiny dab of diluted fabric-safe gloss medium on noses or eyes for subtle shine (optional)
Storage tip: Keep finished pieces in breathable cotton bags away from direct sunlight to prevent fading.
This attention to detail shows respect for your craft—and your future owner.
Conclusion: From Cute to Captivating
Realistic amigurumi isn’t about perfection—it’s about intention. Every stitch, every color choice, every embroidered whisker is a chance to tell a story and evoke emotion.
By mastering shaping, embracing texture, refining details, and studying real life, you move beyond patterns and into artistry. Your creations won’t just be toys—they’ll be tiny companions with personality, presence, and soul.
So the next time you pick up your hook, ask yourself: What makes this creature unique? How can I honor its spirit in yarn?
Because the world doesn’t just need more amigurumi—it needs your amigurumi.
What’s the most realistic amigurumi you’ve made? Or which animal are you dreaming of bringing to life? Share your project goals or favorite detailing trick in the comments below—we’d love to cheer you on!

Sophia Williams is a crochet enthusiast who found in yarn and hooks a creative way to express calm, patience, and love for handmade art. Focused on the crochet niche, she shares her experience, techniques, and inspiration with those who want to learn, relax, and create meaningful pieces stitch by stitch.