Introduction
Have you ever looked at a cozy blanket, a stylish scarf, or a handmade market tote and thought, “I wish I could make that”? The good news is—you absolutely can, and it all starts with just a few simple crochet stitches. Crochet might seem intimidating at first, especially with all the abbreviations and techniques floating around online, but the truth is: anyone can learn to crochet, even if you’ve never held a hook before.
In this guide, we’ll walk you through the five easiest and most essential crochet stitches every beginner should master. These foundational stitches are the building blocks for countless projects—from dishcloths and baby booties to sweaters and home décor. Not only are they simple to learn, but they also create beautiful textures and patterns that look far more complex than they really are.
Whether you’re looking for a relaxing hobby, a creative outlet, or a way to make heartfelt handmade gifts, crochet offers endless possibilities. So grab a hook, some yarn, and let’s turn those looping dreams into reality—one stitch at a time.
Why Start with Basic Stitches?
Before diving into intricate lace or colorwork, it’s crucial to build confidence with the basics. Think of crochet like learning to play piano: you start with scales, not symphonies. Mastering a few core stitches gives you:
- Muscle memory for consistent tension and movement
- Understanding of pattern language (most patterns use combinations of these stitches)
- The ability to troubleshoot when things go off-track
- A solid foundation to explore advanced techniques later
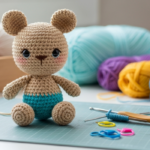
Plus, many stunning projects use only basic stitches—just arranged creatively. A simple single crochet can become a plush amigurumi; a double crochet can form a flowing shawl. Simplicity is your superpower as a beginner.
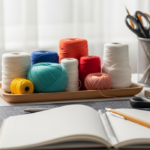
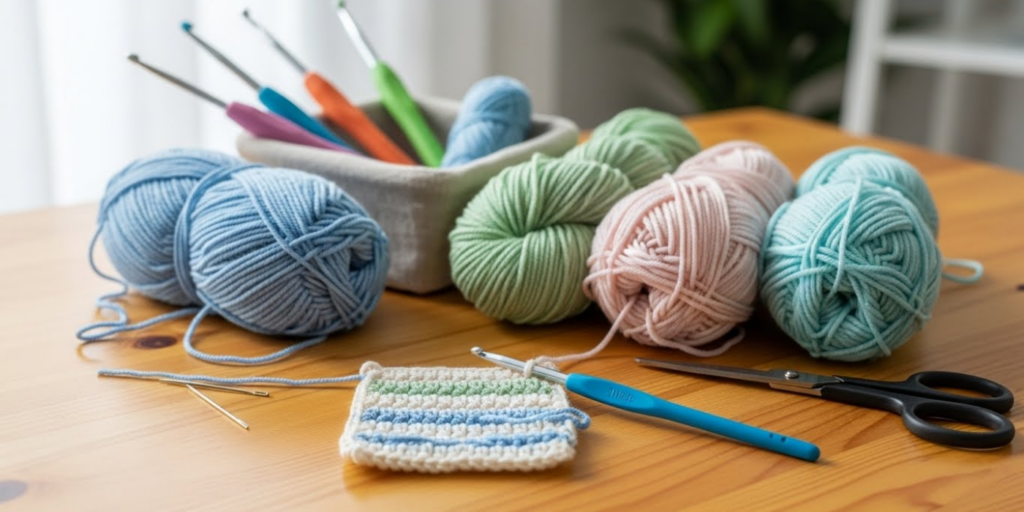
All you need to get started: a size H (5mm) crochet hook, a skein of medium-weight (worsted) yarn, and a pair of scissors. Avoid fuzzy or slippery yarns at first—they hide your stitches and make learning harder. Cotton or acrylic in a light color is ideal.
1. The Chain Stitch (ch) – Your Starting Point
The chain stitch is the foundation of almost every crochet project. It’s how you begin rows, create spaces, and even form entire patterns (like in lace). Don’t underestimate it—it’s deceptively simple but incredibly powerful.
How to do it:
- Make a slip knot and place it on your hook.
- Yarn over (wrap yarn over the hook from back to front).
- Pull the yarn through the loop on your hook.
- Repeat until you have the desired number of chains.
Tips for success:
- Keep your tension relaxed—tight chains make it hard to work into them later.
- Count your chains carefully; it’s easy to lose track. Use stitch markers every 10 chains if needed.
- Practice making chains of different lengths (10, 20, 50) to build hand coordination.
Why it matters: Every row you crochet starts with a chain (unless you’re working in the round). It’s also used for buttonholes, edging, and decorative elements. Master this, and you’ve unlocked the door to everything else.
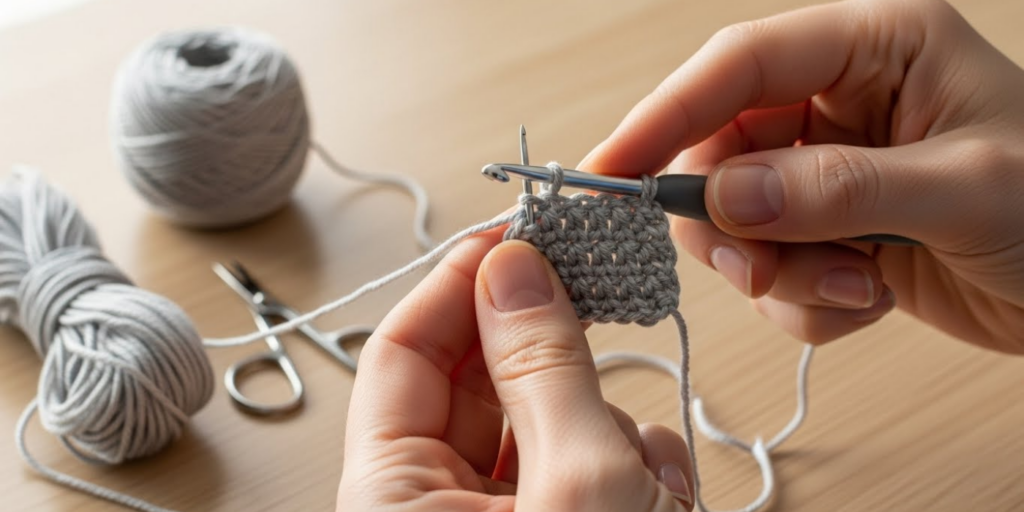
2. Single Crochet (sc) – The Workhorse Stitch
If the chain stitch is the foundation, the single crochet is the brick that builds the house. It’s short, dense, and sturdy—perfect for amigurumi, dishcloths, bags, and warm blankets.
How to do it:
- Insert your hook into the second chain from the hook (or into the stitch specified).
- Yarn over and pull up a loop (you now have 2 loops on the hook).
- Yarn over again and pull through both loops.
- Repeat across the row.
What makes it great:
- Creates a tight, non-stretchy fabric that holds its shape
- Easy to control for beginners
- Works beautifully in color changes and simple textures
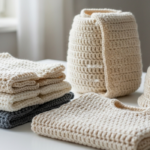
Project idea: A 20 x 20 inch washcloth using only single crochet. It’s practical, fast, and gives you instant gratification.
Pro tip: To keep edges straight, remember to work your first stitch into the correct stitch (not the turning chain unless the pattern says so). At the end of each row, chain 1 and turn.
3. Half Double Crochet (hdc) – The Happy Medium
Half double crochet is the Goldilocks of stitches—not too short, not too tall, but just right. It’s slightly taller than single crochet but denser than double crochet, making it ideal for garments, blankets, and anything that needs drape without being too loose.
How to do it:
- Yarn over first (this is what makes hdc unique!).
- Insert hook into the stitch.
- Yarn over and pull up a loop (now you have 3 loops on the hook).
- Yarn over and pull through all 3 loops at once.
Why beginners love it:
- Works up faster than single crochet
- Creates a smooth, even fabric with fewer gaps
- Less likely to curl at edges than other stitches
Bonus: The “third loop” on the back of hdc stitches can be used later to create ribbing—a handy technique for cuffs and brims.
Try this: Make a simple cowl by chaining 60, then working hdc in every stitch for 20 rows. Sew the ends together—voilà! A cozy accessory in under two hours.
4. Double Crochet (dc) – Speed and Style
When you want to cover more ground quickly, double crochet is your go-to. It’s the most common stitch in afghans, shawls, and market bags because it works up fast and creates a lovely open texture.
How to do it:
- Yarn over.
- Insert hook into the stitch.
- Yarn over and pull up a loop (3 loops on hook).
- Yarn over and pull through 2 loops (2 loops remain).
- Yarn over and pull through the last 2 loops.
Things to watch for:
- Keep your tension consistent—loose dc stitches can look sloppy.
- Remember to skip the first stitch when starting a new row (unless working in the round).
- Chain 3 at the beginning of each row to “step up” to the next level.
Why it shines:
- Great for lacy patterns when combined with chains
- Perfect for lightweight summer projects
- Builds confidence because projects grow visibly fast
Fun fact: Many viral crochet trends—like the “granny stripe” blanket—rely almost entirely on double crochet!
5. Slip Stitch (sl st) – The Quiet Hero
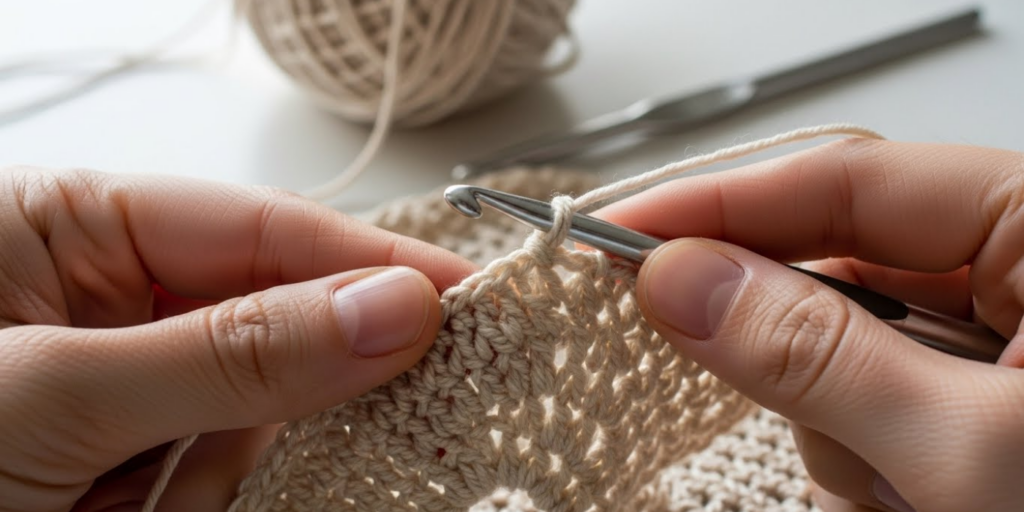
Don’t let its simplicity fool you—the slip stitch is essential for joining, edging, and adding structure without bulk. It’s nearly invisible, making it ideal for seamless finishes.
How to do it:
- Insert hook into the stitch.
- Yarn over and pull through both the stitch and the loop on your hook in one motion.
Common uses:
- Joining rounds in hats or amigurumi
- Creating smooth borders
- Moving your hook across a row without adding height
Beginner hack: Use slip stitch to practice tension control—it’s forgiving and helps you focus on smooth yarn movement.
While you won’t make whole blankets with slip stitch alone, you’ll use it in nearly every project. Think of it as the “glue” that holds your work together.
Putting It All Together: Your First Mini Project
Now that you know the five core stitches, let’s combine them into something tangible! Try this beginner sampler square:
- Chain 20.
- Row 1: Single crochet in the 2nd chain from hook and across (19 sc). Chain 1, turn.
- Row 2: Half double crochet across (19 hdc). Chain 2, turn.
- Row 3: Double crochet across (19 dc). Chain 1, turn.
- Row 4: Slip stitch across (just to feel the difference!).
Finish off and weave in ends. This little square shows you how each stitch creates a different texture and height—and it only takes 30 minutes!
Why this matters: Seeing and feeling the differences helps you choose the right stitch for future projects. Plus, it’s proof you can do this!
Common Beginner Mistakes (and How to Avoid Them)
Even the best crocheters started with wonky edges and dropped stitches. Here’s how to sidestep a few pitfalls:
- Adding or losing stitches: Always count your stitches at the end of each row. Place a stitch marker in the first and last stitch of every row if needed.
- Too-tight tension: Relax your grip! Your yarn should flow smoothly, not feel like you’re strangling it.
- Confusing stitch height: Remember—each stitch type requires a different turning chain (ch 1 for sc, ch 2 for hdc, ch 3 for dc).
- Skipping the gauge swatch: For garments, always check gauge (stitches per inch). A small swatch saves hours of unraveling later.
And most importantly: don’t compare your first project to someone else’s 100th. Progress, not perfection, is the goal.
Conclusion
Learning to crochet isn’t about mastering every stitch overnight—it’s about building confidence one loop at a time. The five stitches covered here—the chain, single crochet, half double crochet, double crochet, and slip stitch—form the backbone of countless beautiful, useful creations. With just these tools, you can make gifts, home goods, and even wearable art.
Remember, every expert was once a beginner staring at a tangled mess of yarn, wondering if they’d ever “get it.” But with a little patience, practice, and self-kindness, you’ll be amazed at how quickly your hands learn this rhythmic, meditative craft.
So why not start today? Grab that hook, make a slip knot, and take your first stitch. You’re not just making fabric—you’re weaving calm, creativity, and connection into your life.
We’d love to cheer you on! Have you tried any of these stitches? What’s your dream first project? Share your goals or questions in the comments below—and if this guide helped, pass it along to a friend who’s been curious about crochet. Happy hooking!

Sophia Williams is a crochet enthusiast who found in yarn and hooks a creative way to express calm, patience, and love for handmade art. Focused on the crochet niche, she shares her experience, techniques, and inspiration with those who want to learn, relax, and create meaningful pieces stitch by stitch.