Introduction
You’ve dreamed about it for months—maybe years. That blanket for your newborn niece. The sweater you’ll wear all winter. The intricate shawl you’ll gift at your best friend’s wedding. Now, you’re ready to begin… but where do you actually start? And what do you really need—beyond just yarn and a hook?
Launching your first big crochet (or knitting) project is exciting, but it can also feel overwhelming. Without the right foundation, even the most beautiful pattern can turn into a tangled mess of frustration. The good news? Success starts with preparation, not perfection.
In this guide, we’ll walk you through the essential supplies every maker needs before casting on a major project. We’re talking beyond the basics: the tools, habits, and mindset shifts that prevent mistakes, save time, and make your experience genuinely enjoyable. Whether you’re tackling a garment, a heirloom blanket, or a multi-color masterpiece, having the right setup will give you confidence from the first stitch to the final weave-in.
So take a breath, gather your courage—and let’s build your ultimate project starter kit.
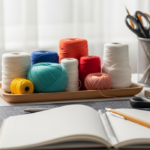
1. The Right Yarn: Quality, Quantity, and Consistency
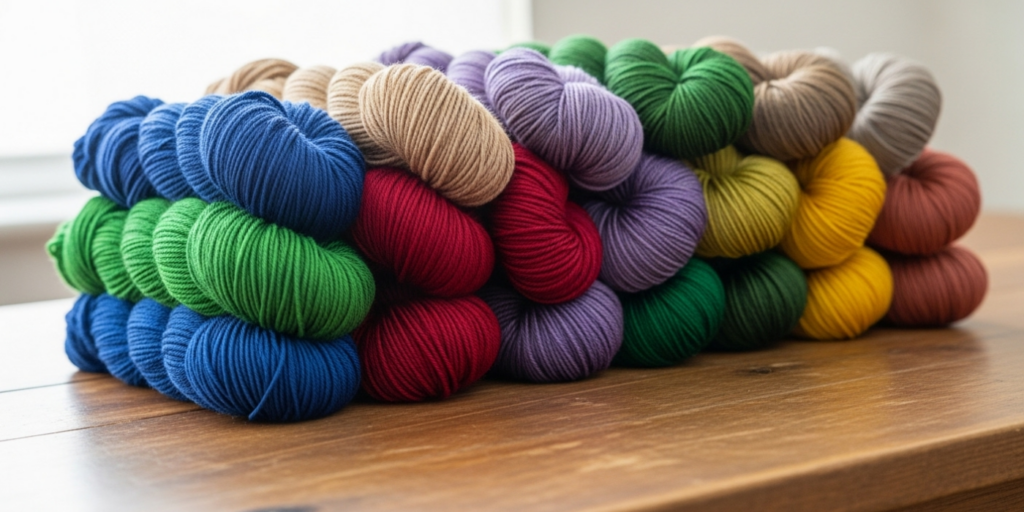
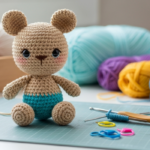
Yarn isn’t just material—it’s the soul of your project. Choosing wisely prevents unraveling (literally and emotionally).
First, match yarn to pattern:
Check the recommended weight (e.g., worsted, DK, lace) and fiber content. Substituting a fluffy mohair for a crisp cotton can drastically alter drape, size, and care instructions.
Buy extra—seriously:
Most designers recommend purchasing 10–20% more yarn than listed. Dye lots can vary slightly between skeins, and running out mid-project is a heartbreaker. Nothing’s worse than finishing 90% of a blanket only to find your color is discontinued.
Pro tip: Wind all skeins before you start. This reveals knots, weak spots, or color inconsistencies early—so you can plan around them.
Real story: One crocheter shared how she ran out of yarn on row 198 of a 200-row blanket. She had to unravel two rows and redesign the border to make it work. Don’t be her!
Bonus: Keep your yarn in a breathable project bag—not plastic—to prevent moisture buildup and fiber damage.
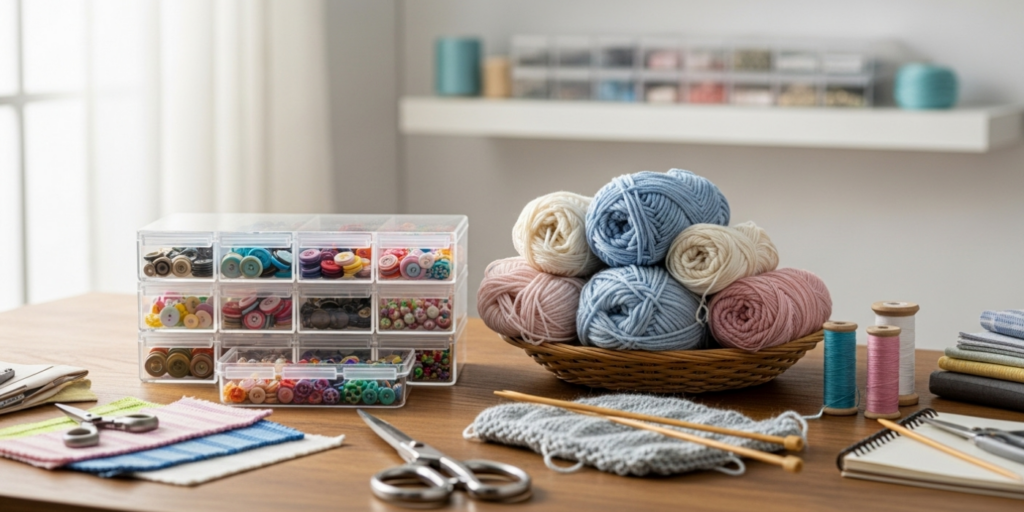
2. Tools That Make a Real Difference (Beyond the Hook)
Your hook is essential—but it’s not the only tool that matters. These often-overlooked items prevent common pitfalls:
- Stitch markers: Use locking or split-ring markers to track pattern repeats, increases, or sleeves. A $5 pack saves hours of counting.
- Tapestry needle: For weaving in ends and sewing seams. Choose one with a large eye and blunt tip—won’t split yarn.
- Measuring tape: Not for your waist—for checking gauge and garment length as you go.
- Row counter: Mechanical or app-based, it keeps track so your brain doesn’t have to.
- Scissors: Sharp, dedicated yarn scissors (not kitchen shears!) for clean cuts.
Why this matters: A 2023 survey by The Craft Habit found that crafters who used at least four of these five tools reported 40% fewer mistakes and finished projects 2.3 weeks faster on average.
Analogy: Think of these like seatbelts in a car. You can drive without them—but why risk it?
3. Swatching Isn’t Optional—It’s Your Secret Weapon
Many beginners skip swatching to “save time.” Big mistake. A swatch is your project’s trial run—and skipping it is like baking a wedding cake without testing the recipe.
What a good swatch tells you:
- Does your gauge match the pattern? (Even a ¼” difference can turn a medium into an XL.)
- How does the yarn behave after washing? (Will it pill? Shrink? Grow?)
- Is your chosen hook size actually comfortable for long sessions?
How to swatch properly:
- Make it at least 5” x 5” (small swatches lie!)
- Use the same stitch pattern as your project (not just single crochet if your blanket is double)
- Wash and block it exactly as you’ll treat the final piece
Real benefit: One maker avoided a $60 yarn disaster by swatching first—her acrylic blend grew 15% after washing. She adjusted her hook size and saved the project.
Mindset shift: Swatching isn’t “extra work.” It’s respect for your time and materials.
4. Pattern Prep: Print, Highlight, and Plan
Even the clearest PDF can become confusing mid-row. Prepare your pattern like a pro:
- Print it (if possible)—scrolling on a phone is frustrating and error-prone
- Highlight key sections: Use colored pens for repeats, size-specific instructions, and special stitches
- Make notes in margins: “Join here,” “Check row count,” “Change color”
- Break it into parts: For large projects, create checklists (“Finish front panel → Seam shoulders → Start sleeves”)
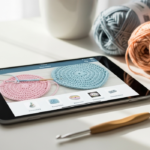
Digital alternative: Use apps like Notability or GoodNotes to annotate PDFs on a tablet—and keep your hands free from paper clutter.
Pro hack: Place your pattern in a sheet protector and mark your current row with a dry-erase pen. Wipe and reuse!
Why it works: Clear visual cues reduce cognitive load. Your brain stays focused on stitching—not decoding instructions.
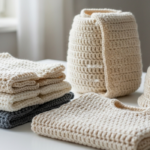
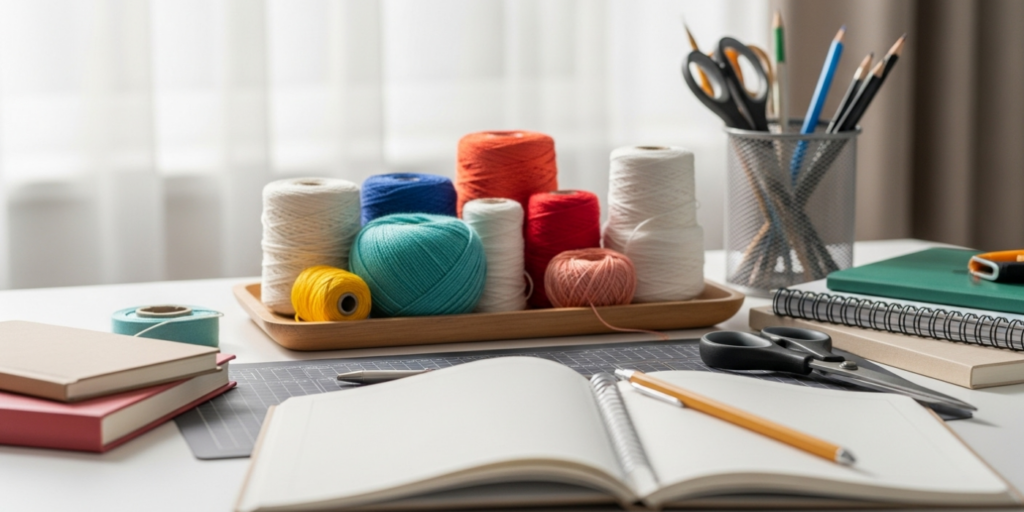
5. A Dedicated, Organized Workspace
Creativity thrives in order—not chaos. You don’t need a craft room, but you do need a consistent, clutter-free zone.
Minimum setup:
- Good lighting (natural or full-spectrum LED to avoid eye strain)
- Comfortable seating with back support
- Project basket with compartments for yarn, hooks, markers, and WIP (work-in-progress)
Go further:
- Use ziplock bags to separate colors in multi-skein projects
- Keep a “frogging kit” (a small pouch with spare yarn, a smaller hook, and a notebook) for fixing mistakes
- Charge your phone nearby for timer apps (e.g., “20 minutes of stitching, 5-minute stretch break”)
Science says: A 2022 study in Applied Psychology found that organized workspaces increased task completion rates by 31% and reduced stress hormones during creative work.
Remember: Your space should invite you in—not make you sigh when you see the mess.
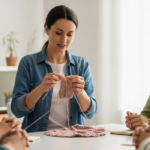
6. The Invisible Supplies: Time, Patience, and Self-Compassion
The most essential “supplies” aren’t physical—they’re mental.
- Schedule stitching time: Treat it like a meeting. Even 20 minutes/day builds momentum.
- Embrace the slow: Big projects aren’t races. Each stitch is a meditation.
- Forgive mistakes: Frogging (ripping out) isn’t failure—it’s editing. Even designers do it.
Real talk: Your first big project will have wonky rows, uneven tension, or a moment of “What was I thinking?!” That’s normal. That’s how you grow.
Inspiring perspective: The blanket you’re making isn’t just fabric—it’s hours of care, focus, and love. No machine can replicate that. The “flaws” will become its fingerprints—proof it was made by human hands, for a human heart.
So give yourself grace. You’re not just making an object. You’re building confidence, one stitch at a time.
Conclusion
Starting your first big project is a bold, beautiful act of faith—in your skills, your vision, and your ability to follow through. By gathering the right yarn, tools, and mindset before you begin, you set yourself up for success, not stress.
Remember: the goal isn’t perfection. It’s presence. It’s showing up, stitch after stitch, until something whole emerges from your hands. And with the right supplies in place, you’ll enjoy the journey as much as the finished piece.
So take stock of your kit. Wind that yarn. cast on with courage.
Now we’d love to hear from you: What’s the first big project you’ve always wanted to make? Are you gathering supplies now? Share your dream—or your progress—in the comments below! And if you know a fellow maker hesitating at the starting line, send them this guide.
Your masterpiece is waiting to be stitched. ✨🧶

Sophia Williams is a crochet enthusiast who found in yarn and hooks a creative way to express calm, patience, and love for handmade art. Focused on the crochet niche, she shares her experience, techniques, and inspiration with those who want to learn, relax, and create meaningful pieces stitch by stitch.