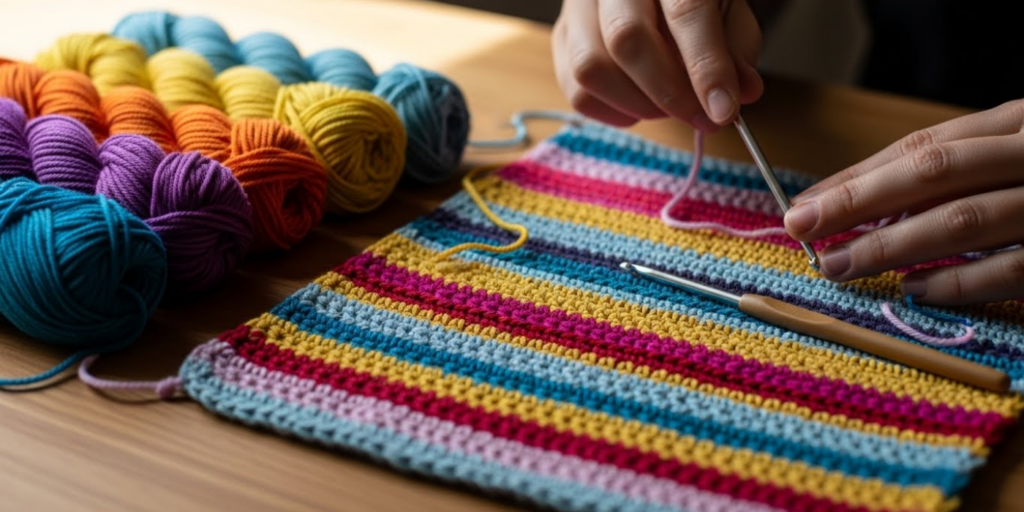
Imagine creating a crocheted blanket that looks like carved stone, a shawl with the depth of woven tapestry, or a bag that appears sculpted rather than stitched—all with a single hook and yarn. This isn’t magic; it’s overlay crochet, a captivating technique that transforms simple stitches into rich, three-dimensional textures.
Unlike traditional crochet that works row by row on a flat plane, overlay crochet builds layers of stitches that “float” over the base fabric, creating dramatic shadows, raised motifs, and intricate geometric patterns. Originally popularized by designer Melinda Miller and rooted in Eastern European traditions, this method has surged in popularity among modern makers who crave depth, visual interest, and heirloom-quality results.
In this guide, you’ll discover what makes overlay crochet unique, why it’s worth learning (even if you’re an intermediate crocheter), and how to get started with confidence. We’ll break down the core principles, walk through essential techniques like post stitches and strategic skipping, and share practical tips for reading overlay patterns—many of which look intimidating at first glance. You’ll also learn how to choose the right yarn and hook to make those textures truly pop.
Whether you’re drawn to bold home décor, wearable art, or simply want to elevate your craft, overlay crochet offers a rewarding path to truly stunning designs.
What Is Overlay Crochet—and Why It Creates Such Depth
At its heart, overlay crochet is about strategic layering. Instead of working every stitch directly into the previous row, you intentionally skip stitches in the base row and then work tall stitches (like double or treble crochets) over those gaps, anchoring them several rows below. The skipped stitches become “hidden,” while the overlay stitches rise above, forming ridges, shells, or even mosaic-like patterns.
Think of it like embroidery on top of fabric—except the “fabric” and the “embroidery” are made at the same time, with the same yarn. This integration gives overlay pieces incredible durability and cohesion, unlike appliqués that can fray or peel.
One of the most striking features is negative space. The gaps left by skipped stitches aren’t mistakes—they’re part of the design, allowing light and shadow to play across the surface. This interplay is what gives overlay work its architectural feel.
Unlike lace, which relies on open holes for delicacy, overlay crochet uses density and relief to create visual impact. A single-color project can look complex simply through texture—making it ideal for minimalist makers who love drama without color clutter.
Moreover, because the surface is built up in layers, finished items often have a luxurious weight and drape, perfect for throws, vests, or statement pillows.
Essential Techniques You’ll Use Again and Again
You don’t need dozens of new stitches to master overlay crochet—but you do need to understand a few key techniques inside and out.
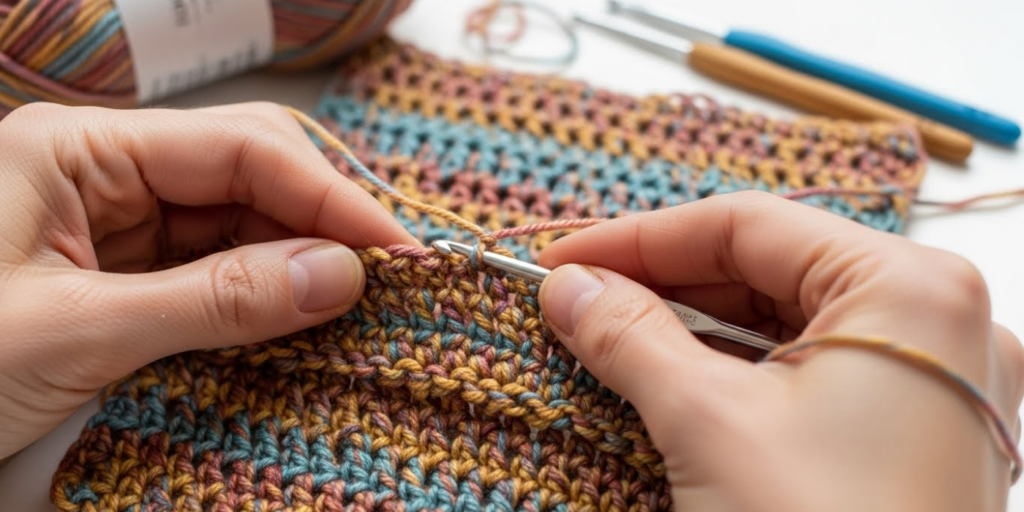
1. Post Stitches (Front Post & Back Post)
These are the backbone of texture in overlay work. Instead of inserting your hook under the top loops of a stitch, you wrap it around the vertical “post” of a stitch from a previous row.
- Front Post Double Crochet (fpdc): Creates a raised bump on the front.
- Back Post Double Crochet (bpdc): Pushes the fabric forward, creating a ridge on the back (which often shows on the front in overlay designs).
Pro tip: Always yarn over before wrapping the post—this keeps tension even.
2. Skipping Stitches Intentionally
In overlay patterns, you’ll often see instructions like:
“Skip 2 sts, tr in next st, working over skipped sts.”
Those skipped stitches remain unworked, tucked beneath the tall treble crochet. Later rows may anchor into them or leave them hidden forever—it’s all part of the plan.
3. Working into Lower Rows
Overlay frequently requires inserting your hook into stitches 2, 3, or even 4 rows below the current one. This is how you “anchor” floating stitches. Always count rows carefully, and use locking stitch markers to label key foundation rows.
4. Managing Tension
Because you’re pulling yarn over longer distances, tension can get loose. Keep your working yarn snug (but not tight), and consider using a hook one size smaller than usual to maintain definition.
Practice these techniques on a small swatch before starting a full project. Try making a 6×6” square with alternating fpdc and bpdc rows—you’ll instantly see how texture emerges.
Reading Overlay Patterns: Decoding the “Secret Language”
Overlay patterns often look dense and confusing at first glance—full of brackets, skipped stitches, and references to distant rows. But once you know what to look for, they become logical blueprints.
Start with the legend. Most overlay designers include a key explaining symbols like:
- (•) = anchor point
- [skip X, overlay st] = the core repeat
- Row shading = which rows are “base” vs. “overlay”
Look for row types:
- Foundation rows: Usually simple (e.g., rows of dc or sc) that act as your canvas.
- Overlay rows: Contain tall stitches worked over skipped areas.
- Connecting rows: May fill gaps or stabilize the fabric.
Example snippet:
*Row 7 (Overlay): Ch 3 (counts as dc), skip next dc, tr in next dc 3 rows below, skip 2 dc, tr in next dc 3 rows below; rep from * to end.
Here’s how to break it down:
- Your base is Row 4 (since you’re working 3 rows below Row 7).
- You’re skipping stitches on the current surface (Row 6), but anchoring into Row 4.
- The “tr in next dc 3 rows below” is your overlay stitch—floating over the skipped area.
Pro tip: Use two colors for your first practice swatch—base rows in one color, overlay rows in another. This makes the structure instantly visible.
Also, watch video tutorials from overlay specialists like Crochet Archer or Sigrid Rasmussen. Seeing the technique in motion removes 80% of the confusion.
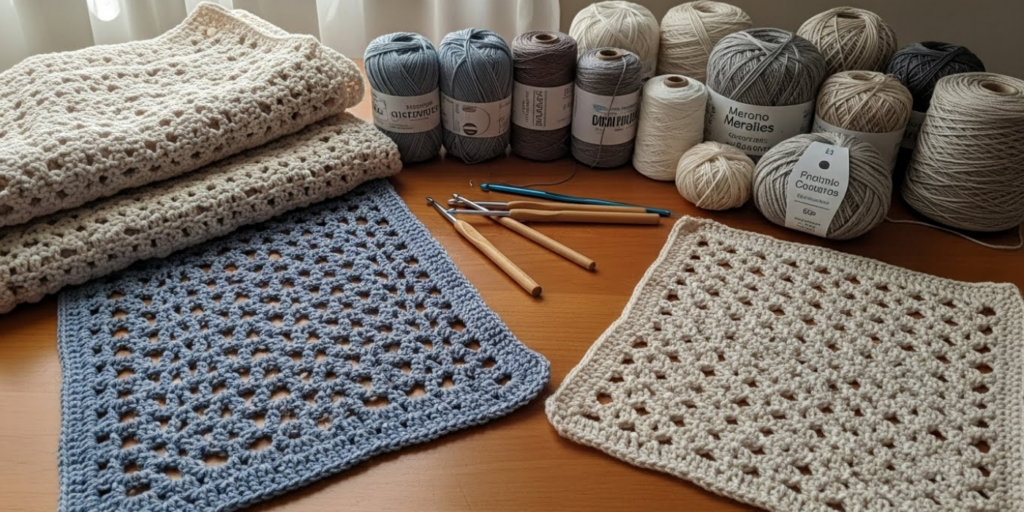
Yarn, Hook, and Project Choices That Make a Difference
Not all materials are created equal when it comes to showcasing overlay texture.
Yarn:
- Smooth, tightly spun yarns (like cotton, mercerized cotton, or acrylic with high twist) show stitch definition best.
- Avoid fuzzy, textured, or variegated yarns—they blur the sharp lines overlay relies on.
- Solid or tonal colors are ideal. Save multicolor yarns for projects where texture isn’t the focus.
Hook:
- Use a smooth metal or bamboo hook for consistent tension.
- Go 1–2 sizes smaller than the yarn label suggests. This prevents floppy overlays and keeps edges crisp.
Beginner-Friendly Projects:
Start small to build confidence:
- Coasters or placemats: Quick, low-yarn investments with high visual payoff.
- Cowl or headband: Tubular shapes hide edge irregularities while highlighting texture.
- Pillow cover: Lets you focus on a flat panel without shaping.
As you advance, try garments like vests or yoked tops, where overlay motifs can replace traditional colorwork.
Remember: overlay crochet uses more yarn than standard fabric—those tall stitches eat up yardage. Always buy 10–15% extra.
Common Challenges—and How to Overcome Them
Even experienced crocheters hit snags with overlay. Here’s how to troubleshoot:
Problem: My fabric is curling or buckling.
→ This often happens when overlay rows are too tight. Loosen your tension on tall stitches, or block aggressively when finished.
Problem: I can’t find the right stitch to anchor into.
→ Use contrasting thread to mark foundation rows. Insert a tapestry needle with scrap yarn through key stitches in Row 4, for example—so you can see them from Row 7.
Problem: The back looks messy.
→ Overlay is meant to be reversible or single-sided. If both sides matter (like a scarf), choose a pattern designed for reversibility—many aren’t.
Problem: My project is taking forever.
→ Overlay is inherently slower. Embrace it as slow craft, not a race. Work in short, focused sessions to avoid frustration.
Most importantly: don’t frog (rip out) immediately. Sometimes texture “settles” after blocking. Wash and pin your swatch before deciding it’s a failure.
Why Overlay Crochet Is Worth the Effort
In a world of fast fashion and mass-produced décor, overlay crochet is an act of intentional creation. Each stitch is placed with purpose. Each skipped space is part of the story. The result isn’t just a functional item—it’s a textile sculpture you can wrap around your shoulders or drape over your sofa.
Beyond beauty, this technique builds advanced skills: spatial reasoning, tension control, and pattern literacy. Once you’ve mastered overlay, other advanced methods—like tapestry crochet or Bavarian stitch—will feel far more approachable.
And let’s not forget the joy of surprise. There’s a moment in every overlay project—usually around Row 10—when the pattern suddenly clicks into view. The chaos resolves into geometry. The texture emerges like a bas-relief carving. That “aha!” moment is pure creative magic.
Conclusion: Stitch by Stitch, Create Something Extraordinary
Overlay crochet invites you to slow down, think in layers, and trust the process—even when the fabric looks chaotic. With the right foundation in post stitches, strategic skipping, and pattern reading, you can transform simple yarn into breathtaking, textured art.
Start small. Use smooth yarn in a single color. Practice on swatches. And remember: every master was once a beginner staring at a confusing chart, wondering how those beautiful photos were possible.
You don’t need perfection—just patience and curiosity. The depth, dimension, and drama of overlay crochet are waiting for you to create them, one floating stitch at a time.
Have you tried overlay crochet before? Or is there a textured pattern you’ve been too intimidated to start? Share your thoughts or questions in the comments below—our crafting community loves supporting fellow makers on their texture journey!

Sophia Williams is a crochet enthusiast who found in yarn and hooks a creative way to express calm, patience, and love for handmade art. Focused on the crochet niche, she shares her experience, techniques, and inspiration with those who want to learn, relax, and create meaningful pieces stitch by stitch.