Introduction
There’s something deeply satisfying about creating something useful with your own hands—especially when it’s as practical as a soft, absorbent washcloth you can use every day. For beginner crocheters, a washcloth is the perfect first project: small, fast, functional, and forgiving. Plus, it uses basic stitches you’ll use forever.
Unlike complicated garments or intricate lace, a washcloth teaches core skills—like holding your hook, managing yarn tension, counting stitches, and working in straight rows—without overwhelming you. And when you’re done? You’ll have a beautiful, eco-friendly alternative to disposable cloths that makes a great gift or self-care staple.
In this step-by-step guide, we’ll walk you through everything you need to know to crochet your very first washcloth—even if you’ve never held a hook before. You’ll learn what materials to choose, how to make your foundation chain, work the single crochet stitch, and finish your project neatly. Along the way, we’ll share beginner-friendly tips to avoid common pitfalls and build your confidence.
So grab some cotton yarn, a hook, and let’s make something wonderful—one simple stitch at a time.
Why a Washcloth Is the Ideal Beginner Project
Before we dive into stitches, let’s talk about why this humble square is such a smart starting point.
First, it’s quick to finish. Most beginners can complete a washcloth in 2–4 hours, giving you a fast sense of accomplishment. That momentum keeps you excited to learn more.
Second, it uses only basic stitches, usually single crochet (sc) or half double crochet (hdc)—the building blocks of nearly every crochet pattern.
Third, cotton yarn is forgiving and functional. It’s smooth enough for beginners to work with, holds its shape well, and becomes softer with each wash. Unlike wool or acrylic, cotton is absorbent—perfect for a washcloth!
Fourth, mistakes are easy to fix. If your tension is uneven or you lose count, just frog (rip out) a few rows and try again. No pressure, no waste.
Finally, it’s infinitely customizable. Once you master the basics, you can experiment with textures, colors, and edgings—turning a simple square into a personalized spa essential.
In short: a washcloth isn’t just a craft—it’s your gateway to a lifetime of crocheting.
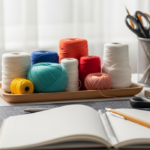
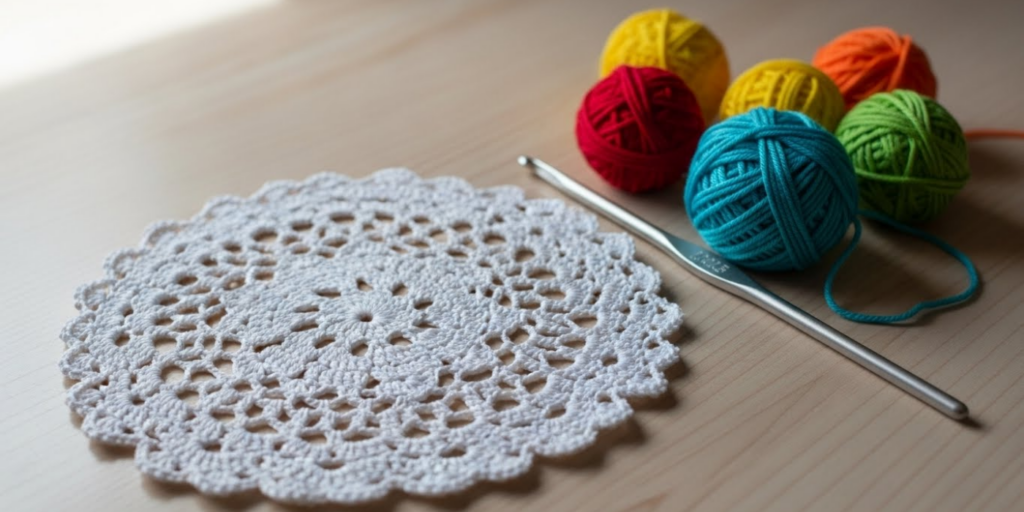
Gather Your Materials: Yarn, Hook, and Extras
You don’t need much to get started—just a few quality essentials.
Yarn:
- Choose 100% cotton worsted weight (Category 4) yarn. Popular options include:
- Lion Brand 24/7 Cotton
- We Crochet’s Comfy Worsted (cotton blend)
- Sugar ’n Cream (affordable and widely available)
- Avoid wool or acrylic—they’re less absorbent and can feel scratchy on skin.
- One skein (about 95–120 yards) is enough for 1–2 washcloths.
Hook:
- Use a 5.0 mm (H-8) or 5.5 mm (I-9) hook—check your yarn label for recommendations.
- Bamboo or ergonomic hooks are gentler on beginner hands.
Extras:
- Scissors
- Yarn needle (for weaving in ends)
- Stitch markers (optional but helpful for marking corners or rows)
- Measuring tape or ruler
Pro tip: Pick a light-colored yarn (white, cream, or pastel). It’s easier to see your stitches, which helps you learn proper technique.
Having the right tools from the start makes the process smoother—and more enjoyable.
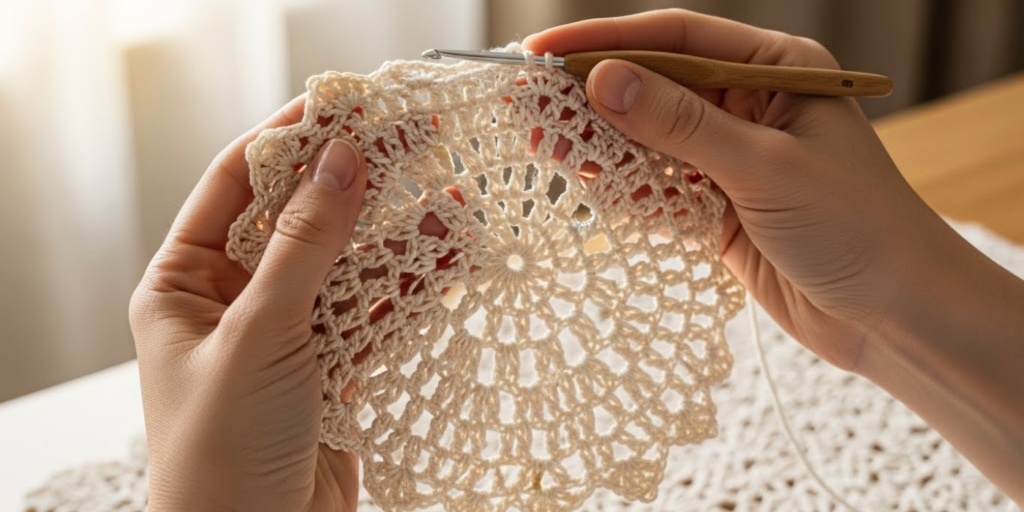
Step-by-Step Instructions: From Chain to Finished Square
Now, let’s make your washcloth! This pattern uses single crochet (sc), the most fundamental stitch.
Finished size: Approx. 8” x 8” (20 cm x 20 cm)
Skill level: Absolute beginner
Step 1: Make a Foundation Chain
- Make a slip knot and place it on your hook.
- Chain 31 stitches (ch 31).
Why 31? This gives you 30 stitches to work into (since the turning chain doesn’t count as a stitch in single crochet), creating a nice square shape.
Tip: Count your chains twice. It’s easy to lose track!
Step 2: Work the First Row
- Skip the first chain (the one closest to your hook).
- Insert your hook into the second chain from the hook.
- Yarn over, pull up a loop (2 loops on hook).
- Yarn over again, pull through both loops. That’s one single crochet!
- Work 1 sc in each remaining chain across. You should have 30 sc at the end of Row 1.
Step 3: Turn and Continue
- Chain 1 (this is your turning chain; it does not count as a stitch in sc).
- Turn your work.
- Work 1 sc in each stitch across. Again, you should have 30 sc.
- Repeat this row until your square measures about 8” tall (usually 30–35 rows).
Helpful habit: Place a stitch marker in the first and last stitch of each row to keep your edges straight.
Step 4: Fasten Off
- After your final row, cut the yarn, leaving a 6” tail.
- Yarn over and pull the tail all the way through the loop on your hook.
- Tighten to secure.
Step 5: Weave in the Ends
- Use a yarn needle to thread the tails back through a few stitches on the wrong side.
- Trim excess.
Voilà! You’ve just crocheted your first washcloth.
Troubleshooting Common Beginner Mistakes
Don’t worry if your first try isn’t perfect—most beginners face the same challenges. Here’s how to fix them:
Mistake #1: Edges are wavy or slanted
- Cause: Adding or skipping stitches at the start/end of rows.
- Fix: Always work into the very first stitch (not the turning chain) and the very last stitch of the row. Count stitches every few rows.
Mistake #2: Fabric is too tight or stiff
- Cause: Gripping the yarn or hook too tightly.
- Fix: Relax your hands. Let the hook do the work. Try a slightly larger hook (5.5 mm instead of 5.0 mm).
Mistake #3: Holes or loose stitches
- Cause: Inconsistent tension or skipping loops.
- Fix: Practice keeping your yarn tension even—like holding a small bird: firm enough not to drop it, gentle enough not to hurt it.
Mistake #4: Square isn’t square
- Cause: Too few or too many rows.
- Fix: Measure as you go. Stop when width = height (use a ruler!).
Remember: Your first washcloth is practice. The second one will be even better!
Customize Your Washcloth: Simple Upgrades for Extra Flair
Once you’ve mastered the basic square, make it your own with easy tweaks:
- Add texture: Try the granite stitch (sc in back loop only) or bobble stitch for exfoliation.
- Change colors: Work stripes by switching yarn every few rows.
- Add a border: Finish with a round of single crochet or a crab stitch (reverse sc) for a polished edge.
- Adjust size: Chain 25 for a face cloth, or 40 for a bath square.
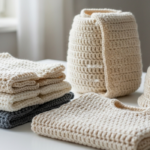
Eco-friendly idea: Make a set of 4–6 washcloths to replace disposable paper towels in your kitchen or bathroom. They’re sustainable, machine-washable, and get softer over time.
You can even personalize them as gifts—stitch a monogram, add a cute tassel, or pair with handmade soap.
Care and Use: Making Your Washcloth Last
Cotton washcloths are durable, but proper care keeps them soft and hygienic:
- Wash in warm water with mild detergent.
- Tumble dry low or air-dry to prevent shrinkage.
- Avoid fabric softener—it reduces absorbency.
- Replace every 1–2 months or when fibers start to fray.
With good care, your handmade washcloth can last for years—and feel better with every use.
Conclusion
Crocheting a simple washcloth is more than just a craft project—it’s your first step into a creative, calming, and practical hobby. You’ve learned how to choose the right materials, work foundational stitches, troubleshoot mistakes, and even customize your creation. And best of all, you now have a useful, beautiful item made entirely by your hands.
This small square is proof that you can crochet—and that every expert was once a beginner holding their first hook. So celebrate this win, then try another! Maybe a matching soap saver pouch or a set of dishcloths next.
Now we’d love to hear from you: Did you make your first washcloth? What color did you choose? Share a photo or your biggest “aha!” moment in the comments below—your journey might inspire someone else to pick up a hook and start their own creative adventure. Happy stitching! 🧶🧼✨

Sophia Williams is a crochet enthusiast who found in yarn and hooks a creative way to express calm, patience, and love for handmade art. Focused on the crochet niche, she shares her experience, techniques, and inspiration with those who want to learn, relax, and create meaningful pieces stitch by stitch.