Have you ever looked at a crochet pattern and felt like you were staring at a secret code? You’re not alone. To beginners, abbreviations like “sc,” “dc,” and “ch-2 sp” can seem more like alphabet soup than instructions. But here’s the good news: once you learn the language, crochet patterns become your creative roadmap—clear, consistent, and full of possibility.
Whether you dream of stitching cozy blankets, stylish garments, or handmade gifts, understanding how to read a crochet pattern is the key that unlocks every project you’ll ever want to make. And the best part? It’s easier than you think.
In this guide, we’ll walk you through everything you need to confidently read and follow any crochet pattern—starting with the basics of abbreviations and symbols, then moving into how to interpret repeats, stitch counts, sizing charts, and special instructions. Along the way, you’ll pick up practical tips to avoid common mistakes and build your confidence stitch by stitch.
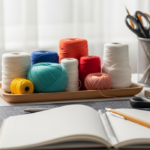
So grab your hook, a ball of yarn, and a notebook—you’re about to turn confusion into clarity and craft something beautiful with ease.
Why Understanding Patterns Matters (Even for Free Projects)
Crochet patterns are more than just step-by-step instructions—they’re your direct line to a designer’s vision. Even simple free patterns from blogs or craft sites follow industry-standard formatting, so learning to read them opens up thousands of projects at your fingertips.
Without this skill, you might find yourself stuck mid-project, guessing what “(sc, ch 1) in next st” means—or worse, frogging (ripping out) hours of work because you misunderstood a repeat. On the flip side, when you can read a pattern fluently, you’ll:
- Save time and yarn by avoiding errors
- Adapt patterns to fit your style or size
- Move from beginner to intermediate projects with confidence
- Join crochet-alongs (CALs) and online communities without feeling lost
Think of a pattern like a recipe. You wouldn’t bake a cake without understanding what “fold in” or “cream together” means—crochet is the same. Once you know the terms, you’re not just following directions; you’re creating with intention.
Decoding the Basics: Abbreviations, Symbols, and Terminology
Most crochet patterns use standardized abbreviations to keep instructions short and clear. The first step is learning the most common ones—especially since U.S. and U.K. terms differ (we’ll focus on U.S. terms, which are standard in American patterns).
Here’s a quick reference for essential stitches:
- ch = chain
- sc = single crochet
- hdc = half double crochet
- dc = double crochet
- tr = treble (or triple) crochet
- sl st = slip stitch
- st(s) = stitch(es)
- rnd(s) = round(s)
- sp(s) = space(s)
- yo = yarn over
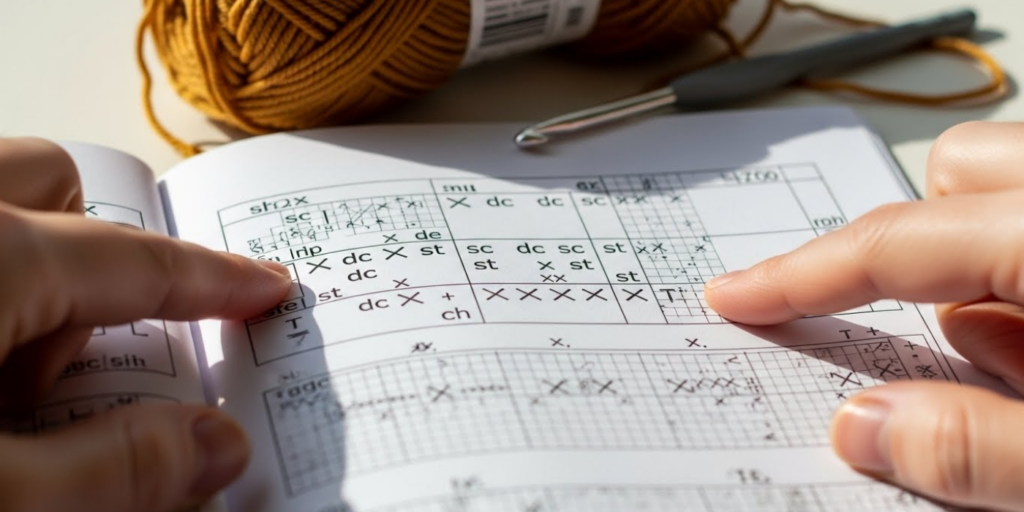
Patterns also use symbols to guide structure:
- Parentheses ( ) often indicate a group of stitches worked into one stitch or space, or show stitch counts (e.g., “(2 dc, ch 1) in next st”).
- Brackets [ ] usually enclose repeated instructions. Example: “[sc in next 3 sts, 2 sc in next st] 4 times” means repeat that sequence four times.
- **Asterisks *** mark the start of a repeat section. You’ll often see: “*sc, dc, sc; rep from * around.”
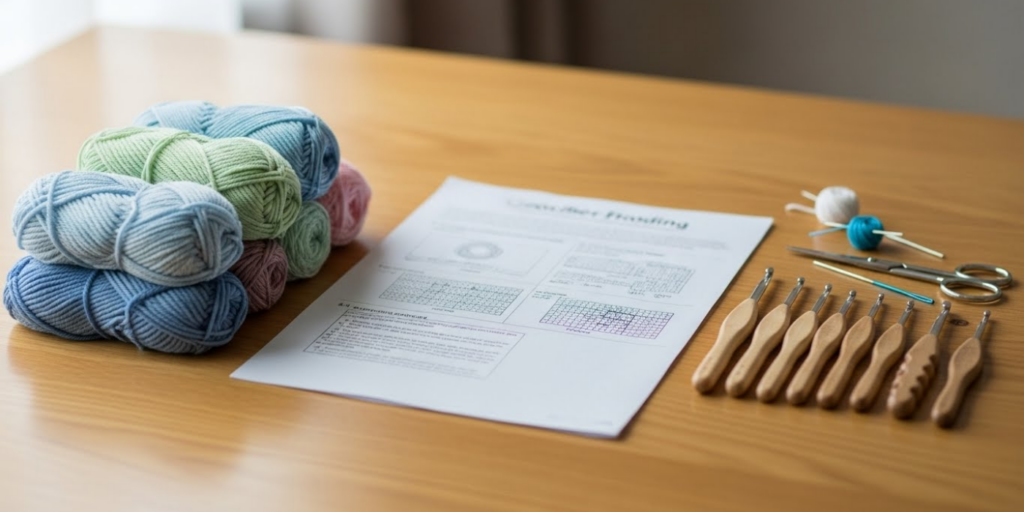
Pro tip: Keep a printed abbreviation chart in your crochet bag or bookmark a digital one on your phone. Many designers also include a key at the start of their patterns—always check!
Following the Flow: How Patterns Are Structured
A well-written crochet pattern follows a predictable format. Once you recognize the structure, you’ll know exactly where to look for key info.
1. Materials & Gauge
Before the actual instructions begin, you’ll see:
- Yarn weight and amount (e.g., “400 yards of worsted weight yarn”)
- Hook size (e.g., “Size I-9 / 5.5 mm”)
- Notions like stitch markers, tapestry needles, or buttons
- Gauge—a small swatch measurement (e.g., “14 dc x 10 rows = 4 inches”). Gauge matters most for garments; if your stitches are looser or tighter, your sweater might end up too big or small.
2. Special Stitches or Notes
Designers often explain unique techniques here (e.g., “Front post double crochet (fpdc): yo, insert hook around post of st below…”). Read this section first!
3. Instructions
Patterns are broken into rows (for flat pieces) or rounds (for hats, amigurumi, or blankets worked in the round). Each row starts with a number:
Row 1: Ch 20, sc in 2nd ch from hook and each ch across. (19 sc)
Notice the stitch count in parentheses at the end—always count your stitches to stay on track.
4. Finishing
Includes blocking, seaming, or adding embellishments like tassels or embroidery.
By scanning this structure first, you’ll approach your project with a clear mental map.
Mastering Repeats, Shaping, and Sizing
One of the trickiest parts for beginners is handling repeats and size adjustments. Let’s break it down.
Repeats are your best friend—they reduce clutter in patterns. For example:
Row 5: Ch 2 (counts as first dc), dc in next st, [skip 1 st, 2 dc in next st] across to last 2 sts, dc in last 2 sts.
Here, everything between the brackets is repeated across the row. To follow it:
- Work the setup (“ch 2, dc in next st”)
- Then repeat the bracketed part until you’re 2 stitches from the end
- Finish with the end instruction (“dc in last 2 sts”)
Shaping (increases and decreases) is how garments fit curves or blankets grow wider. Common notations:
- 2 sc in next st = increase (make two stitches in one)
- sc2tog (single crochet 2 together) = decrease
Multiple sizes are usually written like this:
“Ch 81 (91, 101, 111).”
The numbers correspond to sizes S (M, L, XL). Highlight your size’s numbers before you start!
Pro tip: Use stitch markers to mark repeats, pattern repeats, or sleeve/armhole starts. A different color for each section prevents confusion.
Common Pitfalls—and How to Avoid Them
Even experienced crocheters make these mistakes—so learn how to sidestep them early:
- Skipping the gauge swatch
→ Always make one for wearables. Adjust hook size up or down until your swatch matches the pattern’s gauge. - Miscounting chains or stitches
→ Place a stitch marker in the first stitch of each row/round. Count stitches at the end of every few rows. - Confusing U.S. and U.K. terms
→ Double-check the pattern’s terminology note. If it says “double crochet” but your fabric looks loose and holey, you might be using U.K. dc (which is U.S. sc)! - Ignoring parentheses and brackets
→ Read the entire row before starting. Underline repeats with a highlighter if needed. - Not checking your yarn and hook match
→ Using a bulky yarn with a small hook (or vice versa) can ruin drape and tension—even if the pattern says “worsted weight,” brands vary!
When in doubt, watch a video tutorial for the specific stitch or technique. Seeing it in action often clicks faster than reading alone.
Practice Makes Perfect: Start Simple, Build Confidence
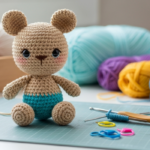
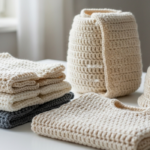
The best way to learn is by doing. Start with a small, straightforward project like a dishcloth, headband, or granny square. These usually use only 1–2 stitches and minimal shaping—perfect for practicing pattern reading.
As you grow more comfortable, try patterns with:
- Color changes
- Simple lace repeats
- Basic shaping (like a triangle shawl)
Keep a crochet journal where you note:
- Hook size and yarn used
- Any modifications you made
- Stitch count checkpoints
Over time, you’ll notice patterns within patterns—literally. That “mysterious” symbol or abbreviation will become second nature, and you’ll start “hearing” the rhythm of the instructions in your head as you work.
Remember: every expert crocheter was once a beginner staring at “ch 3, turn, dc in 4th ch from hook…” and wondering what on earth that meant. You’ve got this.
Conclusion: Unlock Your Crochet Potential
Reading crochet patterns isn’t about memorizing every abbreviation—it’s about learning a new creative language. With the foundational skills you’ve picked up here—understanding abbreviations, recognizing pattern structure, handling repeats, and avoiding common errors—you’re ready to tackle almost any project with confidence.
Don’t rush. Take your time with each row. Count your stitches. Celebrate small wins. And most importantly, keep your first finished project, even if it’s not perfect. It’s proof that you decoded the code—and made something real with your own hands.
Now, go open that pattern you’ve been eyeing, grab your hook, and trust yourself. The yarn is waiting, and your next masterpiece is just one stitch away.
What was the first crochet pattern you ever completed? Or which one are you planning to try next? Share your story or ask a question in the comments below—our crafting community loves cheering each other on!

Sophia Williams is a crochet enthusiast who found in yarn and hooks a creative way to express calm, patience, and love for handmade art. Focused on the crochet niche, she shares her experience, techniques, and inspiration with those who want to learn, relax, and create meaningful pieces stitch by stitch.