Introduction
Imagine this: a room full of eager faces, yarn tangled in hopeful hands, eyes wide with both excitement and nervousness. One student whispers, “I’ve watched 20 YouTube videos and still can’t make a chain.” Another says, “My grandma tried to teach me, but I gave up.” And then—you guide them through their first slip knot. Their eyes light up. “Wait… I did it?”
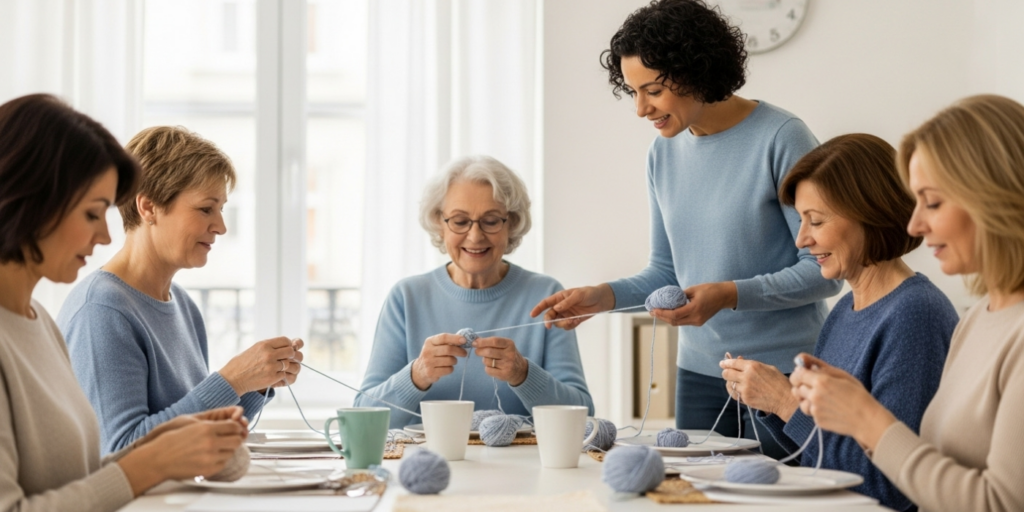
That moment—when confusion turns to confidence—is why teaching crochet is one of the most rewarding gifts you can offer. Whether you’re hosting classes at a local yarn shop, leading a community center workshop, or offering virtual lessons online, teaching beginners isn’t just about stitches—it’s about building trust, sparking joy, and creating a safe space to learn.
But how do you structure a class that’s engaging, clear, and actually effective? In this guide, we’ll walk you through everything you need to know: how to plan your curriculum, choose the right materials, explain stitches in beginner-friendly ways, manage group dynamics, and leave students feeling empowered—not overwhelmed. You don’t need a teaching degree—just heart, preparation, and these practical strategies.
So if you’ve ever thought, “I wish more people knew the magic of crochet,” this is your invitation to make it happen.
1. Start with the Right Mindset: Teaching Is Service, Not Performance
Before you pick up a hook, check your intention. Great crochet teachers aren’t the fastest or fanciest—they’re the most patient and encouraging.
Beginners aren’t looking for perfection; they’re looking for clarity, kindness, and a little hand-holding. Many feel intimidated, especially if they’ve tried (and failed) before. Your role isn’t to impress—it’s to meet them where they are.
Key teaching principles:
- Assume zero knowledge (yes, even how to hold the hook)
- Normalize mistakes: “Frogging is part of the process—every expert has a ‘rip pile’!”
- Celebrate tiny wins: “You made three chains? That’s huge—last week you couldn’t make one!”
Analogy: Teaching crochet is like helping someone learn to ride a bike. You don’t just explain pedaling—you hold the seat, cheer when they wobble, and run alongside until they find balance.
Pro tip: Begin class with a quick icebreaker: “What’s your crochet goal? A scarf? A gift? Just to prove you can do it?” This builds connection and tailors your support.
Remember: your patience plants seeds of confidence that bloom long after class ends.
2. Plan a Simple, Hands-On Curriculum (No Theory Overload!)
Beginners learn by doing—not listening. Avoid long lectures. Instead, design a 90-minute class around one achievable outcome: “By the end, everyone will make a 10-stitch chain and know how to hold their hook.”
Sample 60–90 Minute Beginner Class Flow:
- Welcome & Yarn Intro (5 min): Show 2–3 yarn types; explain why we’re using smooth worsted weight
- Hook Hold Demo (10 min): Teach “knife” and “pencil” grips; let them try both
- Slip Knot (10 min): Walk through slowly—use a large demo hook and contrast yarn
- Chain Stitch (30 min): Practice on their own; circulate to help
- Mini Project (20 min): Make a 10-chain bracelet or bookmark
- Wrap-up & Next Steps (5 min): Share free resources, answer questions
Why this works: It’s active, visual, and ends with a win. Students leave with something tangible—and the belief that “I can do this.”
Avoid: Teaching single crochet in the first class. Chains are hard enough! Master one skill before adding another.
Bonus: Send students home with a printed one-page cheat sheet (with photos of slip knot and chain) so they don’t rely on shaky memory.
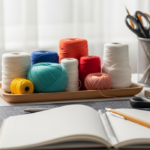
3. Choose Beginner-Friendly Materials (and Have Extras!)
The wrong tools can sabotage even the best lesson. Set your students up for success with smart material choices.
Yarn:
- Smooth, light-colored worsted weight (e.g., Red Heart Super Saver or Lion Brand Basic Stitch)
- Avoid: dark colors (hard to see stitches), fuzzy yarns (hide mistakes), or slippery fibers like silk
Hooks:
- Size I (5.5mm) or J (6.0mm) aluminum hooks—large enough to see, small enough to control
- Offer both ergonomic and standard hooks so students can choose
Extras to have on hand:
- Scissors (one per student or shared in pairs)
- Tapestry needles (for finishing)
- Stitch markers (locking type—great for marking chain ends)
- Extra yarn and hooks (someone will forget theirs)
Pro insight: Buy a class kit in bulk—it’s cheaper and ensures consistency. Charge a small materials fee ($5–$10) to cover costs.
Real story: One teacher switched from dark gray to cream yarn and saw a 50% drop in frustrated students. “Suddenly, they could see their loops!”
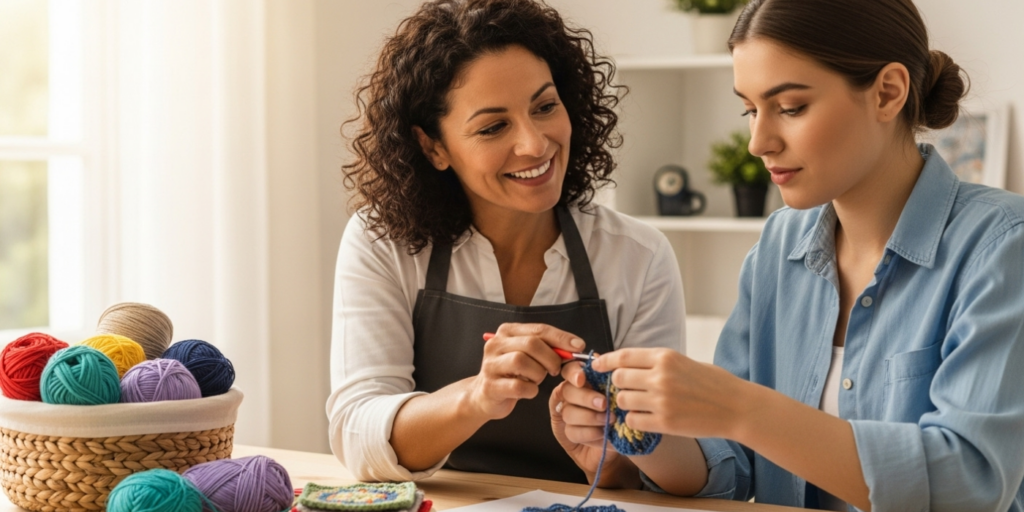
4. Master the Art of Clear, Visual Demonstrations
How you show a stitch matters more than how well you do it. Break every motion into micro-steps and use multiple teaching methods.
Techniques that work:
- Overhead demo: Use a document camera or large mirror so students see your hands from their perspective
- Contrast yarn: Crochet with black yarn on a white table—stitches pop!
- Slow motion: Say, “Watch my yarn hand… now my hook hand…” as you move
- Verbal cues: “Yarn over like you’re wrapping a gift… pull through like you’re opening a door”
Common pitfalls to avoid:
- Standing with your back to the class
- Using terms like “yo” without spelling out “yarn over”
- Rushing through steps (“You’ve seen this before, right?”—they haven’t!)
Pro tip: Use “I do, we do, you do”:
- I do: You demonstrate
- We do: Everyone tries while you guide (“Yarn over… now pull…”)
- You do: They practice independently while you assist
Remember: Repetition isn’t annoying—it’s necessary. Most beginners need to see a stitch 5–7 times before it clicks.
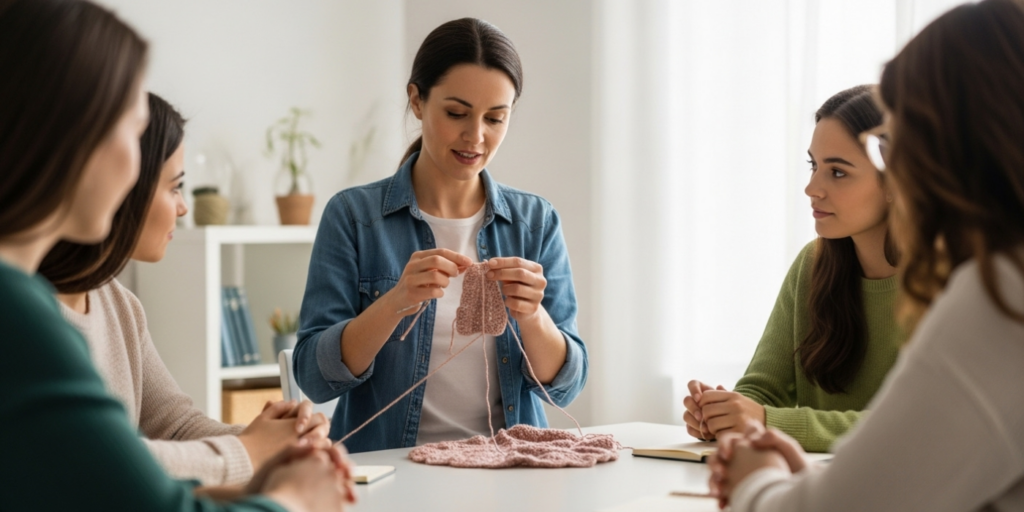
5. Foster a Supportive, Low-Pressure Environment
The #1 reason people quit crochet? Feeling embarrassed or “behind.” Your classroom culture can change that.
Create psychological safety:
- Say: “There are no dumb questions—only brave ones.”
- Never compare students (“Look how fast Sarah is!”)
- Normalize struggles: “My first chain looked like a snake that fell down the stairs!”
Manage group dynamics:
- Pair nervous students with patient helpers (if appropriate)
- Gently redirect know-it-alls: “Thanks for sharing! Let’s let others try it their way first.”
- Keep class size small (6–10 max for in-person; 12–15 for virtual with breakout rooms)
For virtual classes:
- Use gallery view to monitor progress
- Encourage camera-on for connection
- Share your screen with close-up stitch videos as backup
Real impact: A 2023 craft education study found that students in supportive environments were 3x more likely to continue crafting long-term.
Because when people feel safe, they take risks. And that’s where learning happens.
6. Inspire Continued Learning (Beyond the First Class)
Your goal isn’t just to teach a chain—it’s to light a lifelong spark. End class by pointing students toward their next step.
Send them home with:
- A simple practice project (e.g., “Make a 20-chain keychain this week”)
- Free resource list: YouTube channels (Bella Coco, TL Yarn Crafts), Ravelry beginner patterns, local yarn shops
- Your contact info (if comfortable) for quick questions
Offer next steps:
- “Level 2: Single Crochet” class
- A monthly “Stitch & Chat” meetup
- A private Facebook group for your students
Most importantly: End with belief. Say: “You just did something your future self will thank you for. Keep going—you’ve got this.”
Because the world needs more makers. And you? You’re the one who can show them how.
Conclusion
Teaching crochet to beginners isn’t about perfection—it’s about presence, patience, and passion. By planning a hands-on class, choosing the right materials, demonstrating clearly, creating a kind space, and inspiring continued growth, you give students more than a new skill: you give them confidence, calm, and connection.
Remember: every expert was once a beginner who had a teacher who didn’t give up on them. Now, it’s your turn.
So gather your yarn, set up your space, and open your heart. That first slip knot you help someone make? It might just be the start of their creative journey—and yours as a mentor.
Now we’d love to hear from you: Have you taught a crochet class before? What was your biggest lesson—or your proudest moment? Or are you thinking of starting one? Share your thoughts in the comments below—and if you know a fellow crocheter with a gift for teaching, send them this guide!
Happy teaching—and even happier stitching! 🧶✨

Sophia Williams is a crochet enthusiast who found in yarn and hooks a creative way to express calm, patience, and love for handmade art. Focused on the crochet niche, she shares her experience, techniques, and inspiration with those who want to learn, relax, and create meaningful pieces stitch by stitch.