Introduction
Have you ever finished a beautiful crochet round—only to be stopped in your tracks by that glaring, bulky seam where you joined your last stitch to the first? You spent hours on even tension, perfect stitches, and consistent colorwork… but that one clunky join ruins the illusion of a smooth, continuous piece. If this sounds familiar, you’re not alone—and more importantly, there’s a fix.
Enter the invisible join: a simple, elegant finishing technique that makes your round-based projects look professionally polished, with no trace of where the round began or ended. Whether you’re working on amigurumi, granny squares, hats, or mandalas, mastering this skill transforms “homemade” into “handcrafted.”
In this guide, we’ll break down the invisible join step by step—why it works, when to use it, and how to execute it flawlessly every time. You’ll also learn how it compares to traditional slip-stitch joins, common pitfalls to avoid, and tips to make it even more seamless with different yarns and projects. Best of all? It takes less than a minute once you get the hang of it.
Ready to say goodbye to lumpy joins and hello to invisible perfection? Let’s stitch like a pro.
Why the Invisible Join Makes All the Difference
Most beginner crocheters finish a round the same way: with a slip stitch into the first stitch, then chaining up to start the next round. It’s quick, it’s standard—but it leaves a visible jog, especially in single crochet or colorwork.
The invisible join, by contrast, mimics a real stitch at the join point. Instead of pulling yarn through loops in a way that creates a tight, flat knot, you weave the tail to replicate the top of a chain or stitch—so the transition disappears.
Imagine knitting in the round: because it’s continuous, there’s no seam. The invisible join brings that same magic to crochet. For projects like crochet coasters, plush toys, or circular shawls, where symmetry and smooth edges matter, this technique is a game-changer.
Moreover, it’s not just about looks. A traditional slip-stitch join can pull the fabric, distorting the shape—especially in stiff or textured yarns. The invisible join maintains even tension all the way around.
And here’s a bonus: because you fasten off completely before starting the next round (if needed), it also gives you more control over color changes in stripes or motifs. No more carrying yarn up the back or dealing with messy tails!
Step-by-Step: How to Do the Invisible Join
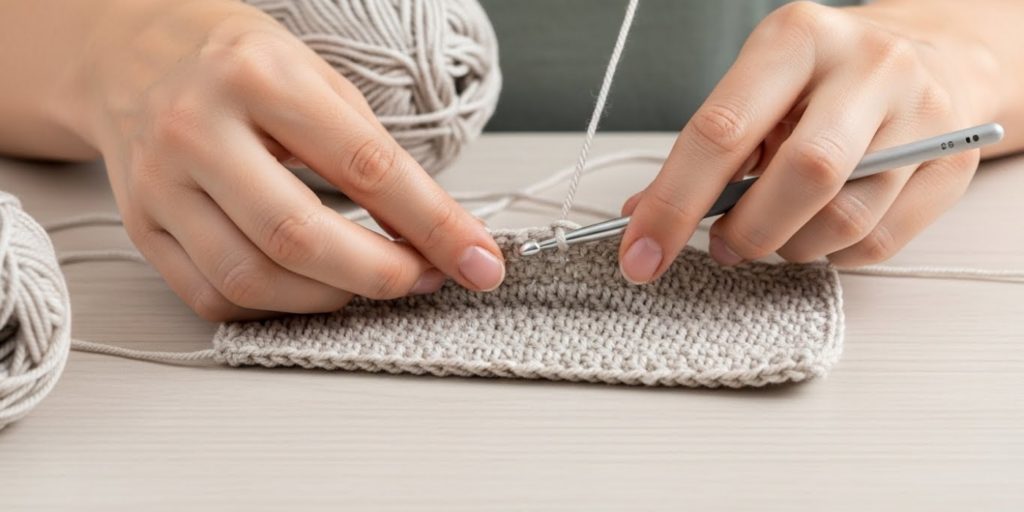
Don’t worry—this isn’t a complex maneuver. With a tapestry needle and your yarn tail, you can achieve perfection in four easy steps.
What you’ll need:
- A finished round (do not slip stitch to join)
- The yarn tail (leave at least a 6-inch tail when you finish your last stitch)
- A tapestry needle
Here’s how to do it:
- Cut the yarn, leaving a 6–8 inch tail. Pull the tail through the loop on your hook to secure it—you’ve now fastened off.
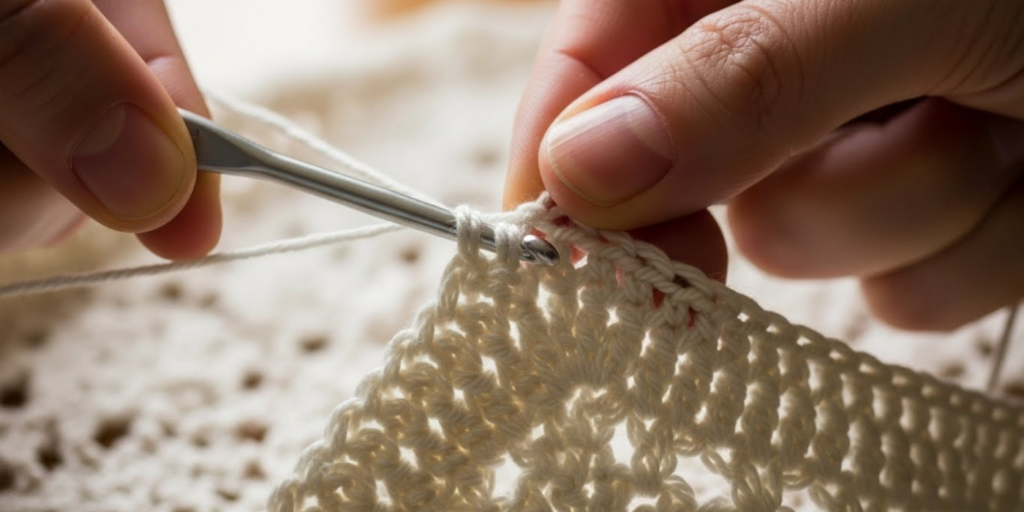
- Thread the tail onto a tapestry needle. Weave the needle under the top two loops of the first stitch of the round (the one you would have slip-stitched into). Pull gently so the yarn follows the natural path of your stitches.
- Now go back: Insert the needle from front to back into the very last stitch you made—specifically, through the center of that stitch’s top, just like you’re closing a loop. Pull until the yarn snugly connects the end to the beginning, matching the height and texture of the surrounding stitches.
- Weave in the remaining tail on the wrong side through several stitches to secure it.
Pro tip: After step 3, give the tail a tiny tug to close any gap—but don’t pull too hard, or you’ll pucker the fabric.
When done correctly, you won’t see a join. Run your finger over it—you shouldn’t feel a bump. It’s as if the round was made in one perfect circle.
When (and When Not) to Use the Invisible Join
The invisible join shines in specific situations—but it’s not always the best choice.
Best used for:
- Projects worked in joined rounds (not continuous spirals)
- Single crochet, half-double crochet, or other short stitches (where the join is most visible)
- Colorwork or motifs where clean transitions matter (granny squares, mandalas, coasters)
- Items with finished edges (like the brim of a hat or the top of a basket)
Avoid it when:
- You’re working in a continuous spiral (like amigurumi bodies). In spirals, there’s no join point—so this technique isn’t needed.
- You plan to add another round immediately without fastening off. The invisible join requires cutting the yarn, so it’s a finishing technique, not a mid-project one.
- You’re using very slippery yarn (like silk or nylon) that might loosen over time. In those cases, a reinforced slip stitch may be more secure.
That said, many crocheters use the invisible join even when continuing to the next round—they simply treat each round as “finished,” then rejoin with a new standing stitch or magic ring technique for the next color/round. It takes a bit more planning but yields stunning results.
Comparing Joins: Invisible vs. Slip Stitch vs. Standing Stitch
Let’s put the invisible join in context by comparing it to two other common methods.
- Slip Stitch Join:
- Pros: Fast, secure, requires no extra tools.
- Cons: Creates a visible dip or bump; causes a “jog” in stripes; distorts tension.
- Best for: Quick projects, utility items (like market bags), or when you’ll seam the piece later anyway.
- Standing Stitch:
- Pros: Lets you start a new round or color without a tail; great for continuous work.
- Cons: Can leave a small loop or knot if not tensioned well; trickier for beginners.
- Best for: Adding rounds without cutting yarn, especially in blankets or color-blocked pieces.
- Invisible Join:
- Pros: Completely seamless, maintains fabric drape, looks professional.
- Cons: Requires fastening off (so not ideal for multi-round colorwork unless planned ahead); needs a tapestry needle.
- Best for: Final rounds, motifs, or any project where aesthetics are key.
Think of it this way: the slip stitch is your reliable everyday shoe, the standing stitch is your sporty sneaker, and the invisible join is your elegant dress shoe—perfect for when you want to impress.
Troubleshooting Common Invisible Join Mistakes
Even with clear instructions, a few hiccups can happen. Here’s how to fix them:
Problem: The join is loose or gappy
→ You didn’t pull the tail snugly enough in step 3. Go back and gently tighten, then weave in the tail securely on the wrong side.
Problem: The join puckers or pulls the fabric inward
→ You over-tightened. Always mimic the tension of your other stitches—not tighter. If it’s already puckered, carefully loosen the tail with your needle.
Problem: You can still see a “line” where the join is
→ Make sure you’re inserting the needle into the exact center of the last stitch—not the side. Also, ensure your first stitch’s top loops are clearly defined (blocking your piece first can help).
Problem: The tail keeps slipping out
→ After weaving through the stitches, run the needle back through the same path in the opposite direction (“locking” the tail), then trim.
Bonus tip: Practice on a swatch before using it on your main project. Use contrasting yarn so you can clearly see what you’re doing.
Taking It Further: Invisible Joins in Colorwork and Texture

Once you’ve mastered the basic invisible join, you can adapt it for advanced effects.
In striped rounds:
Finish each color round with an invisible join, then begin the next round with a standing single crochet in the new color. This eliminates both the jog and the need for carrying yarn.
With textured stitches (like bobbles or puff stitches):
Complete your textured round as usual, then do the invisible join using only the base stitches (not the puffs). The join will hide beneath the texture.
For granny squares or motifs:
Use the invisible join on the final round to make your square look like it was made in one perfect flow—ideal for seamless blanket assembly.
Some designers even combine the invisible join with blocking to open up lace patterns, making the join truly vanish.
The more you use it, the more you’ll see opportunities to elevate your work with this subtle but powerful technique.
Conclusion
The invisible join may seem like a small detail—but in the world of crochet, details define excellence. By replacing bulky slip stitches with this clean, seamless finish, you instantly raise the quality of your projects, giving them a polished, professional look that delights both you and anyone who sees (or uses) your work.
We’ve covered why it matters, walked through each step, explored when to use it (and when not to), compared it to other methods, and even tackled common fixes. Now, it’s your turn to try it. Grab a swatch, your tapestry needle, and a bit of yarn—then see the magic for yourself.
Don’t be discouraged if it doesn’t click on the first try. Like any skill, it gets smoother with practice. And once it “clicks,” you’ll wonder how you ever settled for anything less.
Have you used the invisible join before? Did it transform a project for you? Or are you planning to try it on your next motif? Share your experience in the comments—we’d love to see your seamless successes! And if this guide helped you, pass it along to a fellow crocheter who’s ready to level up their finish. Because every stitch deserves to be seen… except the join.

Sophia Williams is a crochet enthusiast who found in yarn and hooks a creative way to express calm, patience, and love for handmade art. Focused on the crochet niche, she shares her experience, techniques, and inspiration with those who want to learn, relax, and create meaningful pieces stitch by stitch.